


We accepted failures but we learned from it. We believe in our approach towards what we are committed to delivering to our customers. The exception is we do it in a Professional and Timely manner that serves the purpose of what we do and what you get.
House of professionals with the right skills. Bring your own guide or ours, always perfect results.
Capacity is the complex math but is relaxed. We are scalable to any size,
anytime as needed.
Our minimal Client Portal will ease your workflow to manage orders, invoices, downloads, etc. easily.

Clipping path service is a closed vector pathway typically illustrated with Photoshop pen tool to remove an object

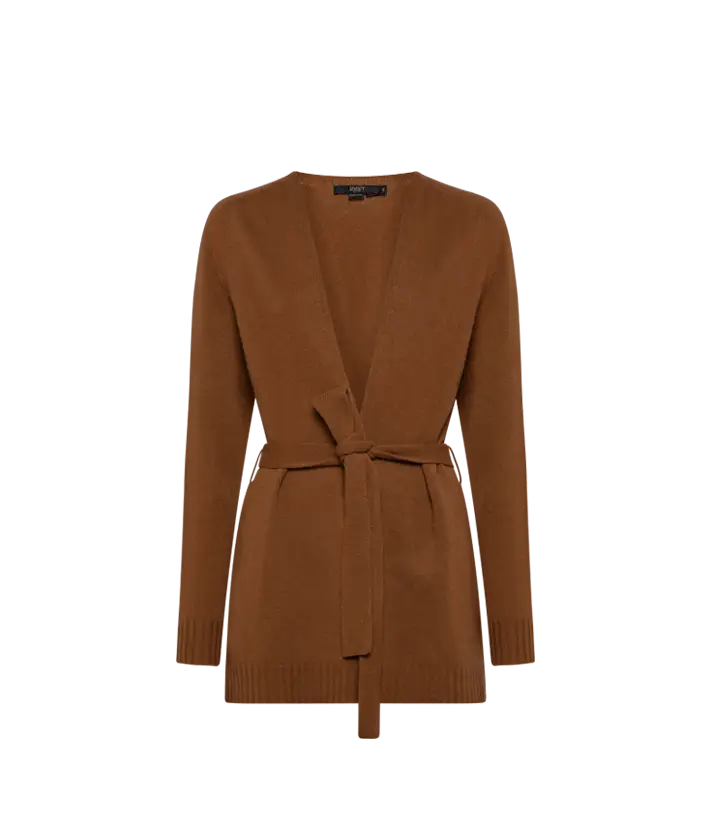
Photo retouching service is one of the most important services we are providing with. Specially fashion, beauty photographer

Image manipulation service is a method of Photoshop to edit a photo in place generating fantasy into the photos.

From a scratched draw figure or from a raster image to make it live something like it will look like an original

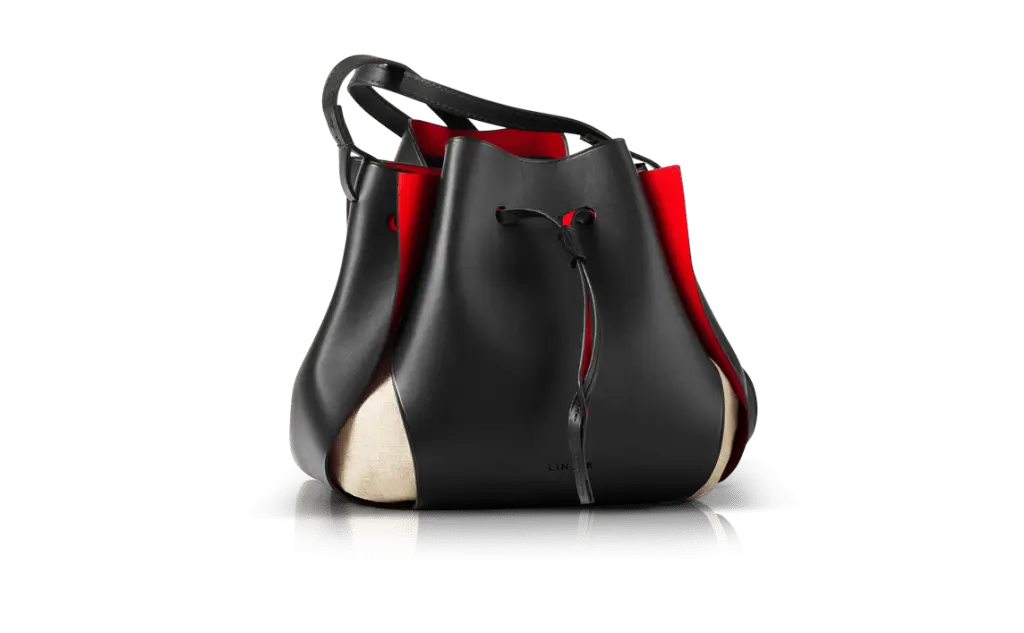
Shadow service we offer is the best you can see while we make an image shadow on your on.

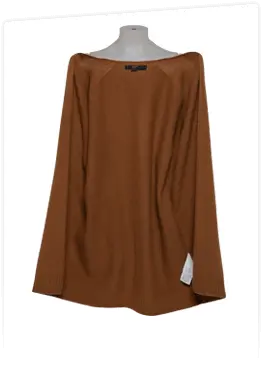
Ecommerce Image Editing / Web Image Optimization Service we offer is for web-shop/e-commerce requires various photo


Hit on Create New Order / Quote Button to upload images, set instructions, and Submit. DONE! Processing has started.
We will get your images done within your specified turnaround time and upload them back to the server for you.
You will get a delivery notification on email with a link. Hit on it or go your Dashboard to start downloading.
Your Benefits
Adept Clipping Path promises to deliver excellent quality that you always want. We as a company assure to give away the finest services at the most economical prices. To get access to our services, navigate to the price menu and select the best option that suits your requirements. Drop us a line and be our valued customers. Happy to help!
Get the right services at the right time at the right price. Adept Clipping Path gives heavy discounts on the bulk image editing and other services. Also, get a free trial to assess our skills and give us a chance to fulfil your requirements. We are here to assist you!
Adept Clipping Path experts are dedicated towards their work and so assure to deliver the end results as fast as possible. Bring your image editing tasks and we will finish it in the shortest possible time. Quick turnaround and express delivery is assured depending upon the complexity of the work!
To make it easy for our customers to interact with the team of experts, we have an amazing 24x7 live support system. It assists you if you have any queries regarding your work or photo editing. Simply type your message and send it so that our experts can help you out.
No matter whether the task is simple or complicated, we assure to work on your project with proper dedication and concentration. We believe in 100% satisfaction guarantee and our outstanding work is a pure reflection of our complete efforts and commitment.


Adept Clipping Path is an Image editing company that always offers flawless pictures. We have specialized graphic designers for particular services who are capable of solving any issue regarding the photograph. Our communication platform is one of the most secure file transfer methods of modern time. You may take a visit to our client review section to see how our clients justify our works.


