
If you are reading this blog, it means you are one of the many who have faced the dilemma of how to deselect in Photoshop. Everyone at one point or another in their Photoshop learning journey has come across this dilemma that you are facing right now. So, you are not alone in this!
Being able to make selections and how to deselect them are fundamental parts of working in Photoshop. You must use one of the many selection tools, such as the Marquee Tool, Lasso Tool, Magic Wand Tool, and Quick Selection Tool, to edit a specific portion of the image. But it is not as obvious as how to deselect once you have made a selection.
Fortunately, we are here to give you the ultimate step-by-step guide on How to Deselect in Photoshop. Through this tutorial, you will be able to deselect in no time and be on your way to making great edits and works of art!
- Learn more about A Step-by-Step Guide on How to Insert Image in Photoshop
Why Is Deselect in Photoshop Important?
Let us first begin by looking at why Photoshop deselect features are fundamental for your Photoshop learning process and why this particular feature exists in the first place. Deselect in Photoshop is something that is used frequently in every editing process.
During the editing process, when you are trying to apply an effect to a particular section of an image, it is essential to deselect the tool you are using before applying a new effect. If you do not deselect, the new effect you are trying to apply will apply to the same selection, which may not be the outcome you are looking for. So, you will need to be able to deselect if you want to get back to normal.
Furthermore, you may want more control over the editing process. Photoshop has you covered in that aspect as well. You can deselect small portions of an area, thus allowing you to make finite changes to your selection. Therefore, it is especially helpful when you have spent significant time making a selection path around an object but unintentionally included a segment that was not intended.
Now that you are already this far into the blog, you must be very interested to know how to use this fundamental feature of Photoshop. So, let us dive into all the various ways to deselect in Photoshop.
- View more How to Remove Watermark from Photo: A beginner’s friendly Guideline
Detailed Step-by-Step Guide for How to Deselect in Photoshop
When considering the deselecting process, you will have to decide whether to deselect the entire area or deselect part of an active selection. Here, we will teach you how to do every Photoshop deselect process you may need based on your specific requirement.
If you want to deselect the entire area, here are the following methods:
From the Menu Bar at the Top
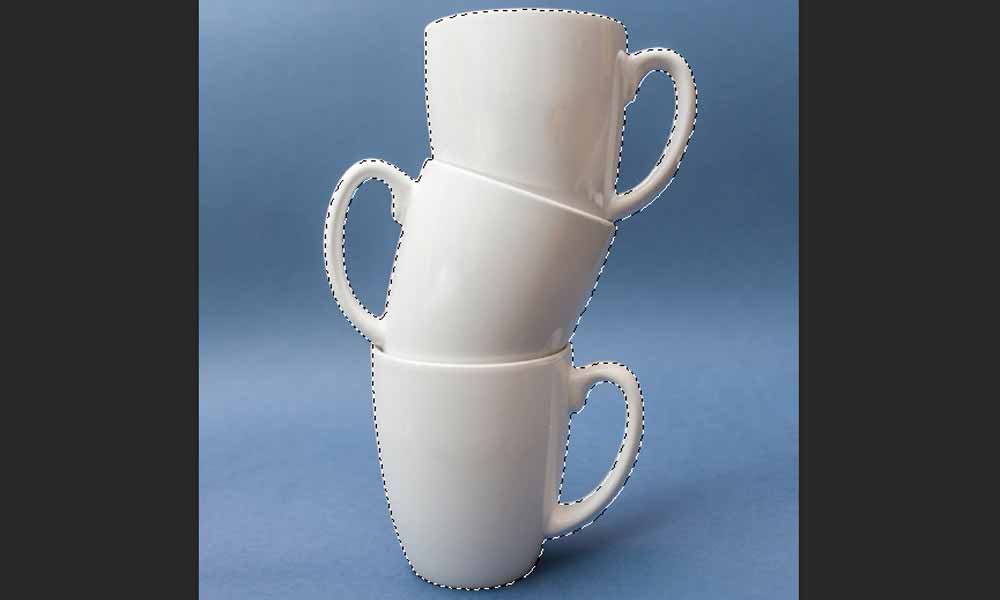
As you already should be aware, when a selection is active, you will see a dashed line called “marching ants” around the selected object. When you deselect, this dashed line will disappear.
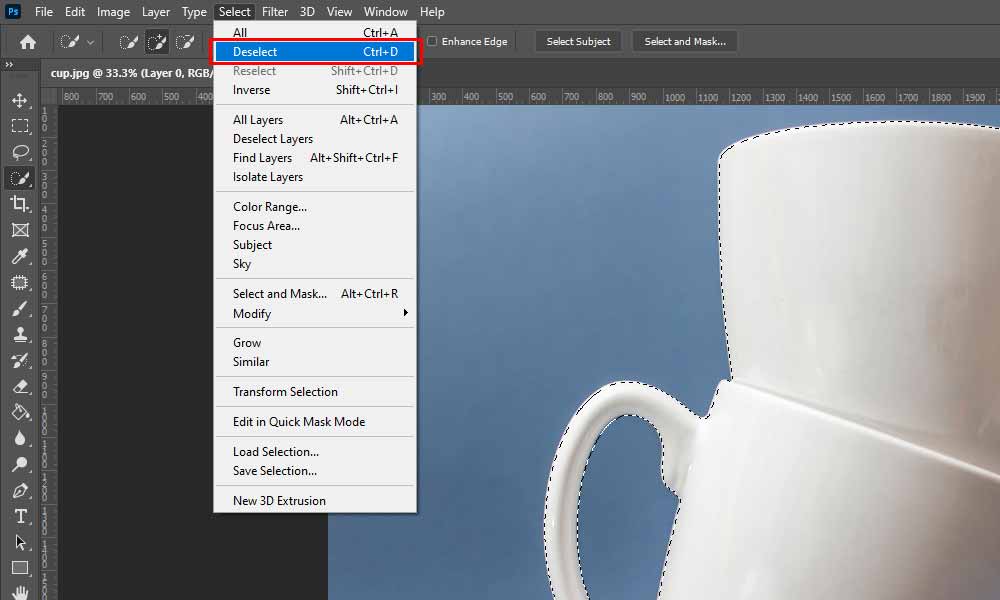
In this method, you will deselect using the “Select” menu from the Menu Bar at the top. When the “Select” menu is clicked, a drop-down menu will appear beneath. There are several options in this drop-down menu for you to select. The second option shows “Deselect”; click this option to deselect and the dashed line will disappear. Thus, indicating that the object is deselected.
Using the Keyboard Shortcuts
Moving the cursor and looking through the drop-down menu can get very cumbersome. To makes things easier, Photoshop has the option for keyboard shortcuts. You can click the “Edit” menu from the top menu bar and select “Keyboard Shortcuts” from the drop-down menu to manually assign keyboard shortcuts to different tools.
However, the shortcut for deselecting has already been assigned in Photoshop. If you want to deselect using the keyboard, hold down the “Ctrl” button and press “D” on your keyboard (Ctrl+D) for Windows or hold down the “Cmd” button and press “D” on your keyboard (Cmd+D) for Mac OS. The dashed line around your object will disappear when you press these keys.
Consecutively, Another method is using the Undo function that is universally used to revert to the previous state. This function is done by holding down the “Ctrl” button and pressing “Z” on your keyboard (Ctrl+Z) for Windows or holding down the “Cmd” button and pressing “Z” on your keyboard (Cmd+Z) for Mac OS.
Now, it’s only natural that you can forget all the different keyboard shortcuts available. In this case, you can check the “Deselect” option for the down drop menu and the shortcut is mentioned beside it.
- Read more about How to Cut Out an Image in Photoshop
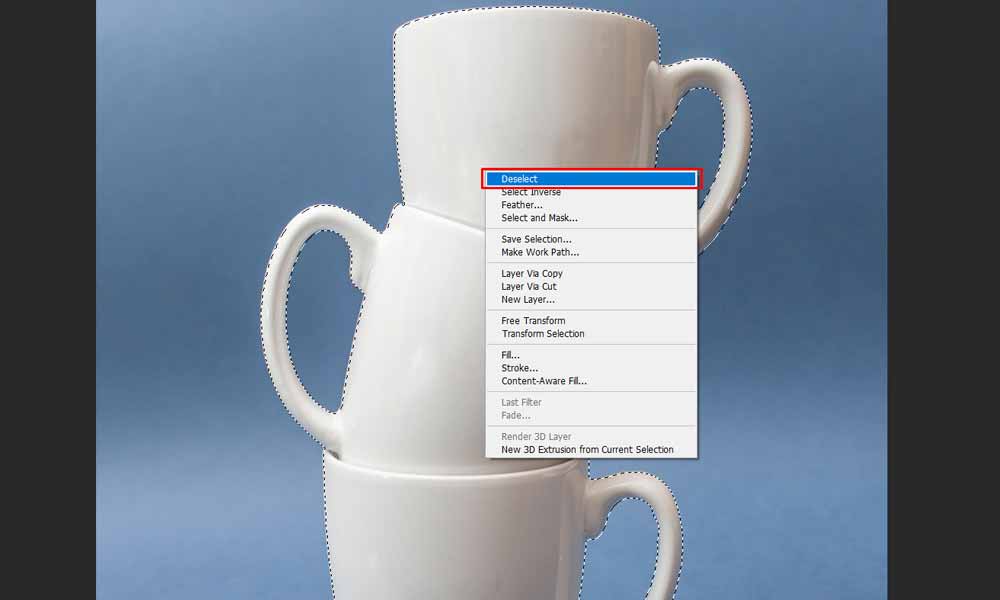
Using the Mouse – Right Click
This method is the easiest and fastest method to deselect an object. Hover the cursor over the selection and click the right mouse button; a drop-down menu will appear. Select “Deselect” from this drop-down menu and the dashed line around the object will disappear, indicating the object has been deselected.
Now let’s focus on the Photoshop deselect methods for deleting a part of the active selection. They are here as follows:
Using the Marquee Tool
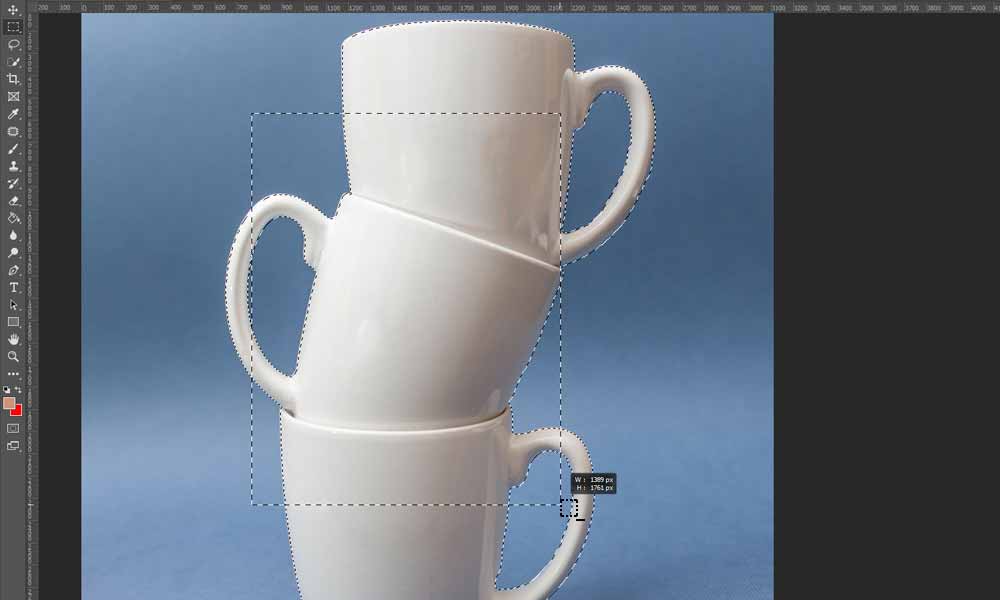
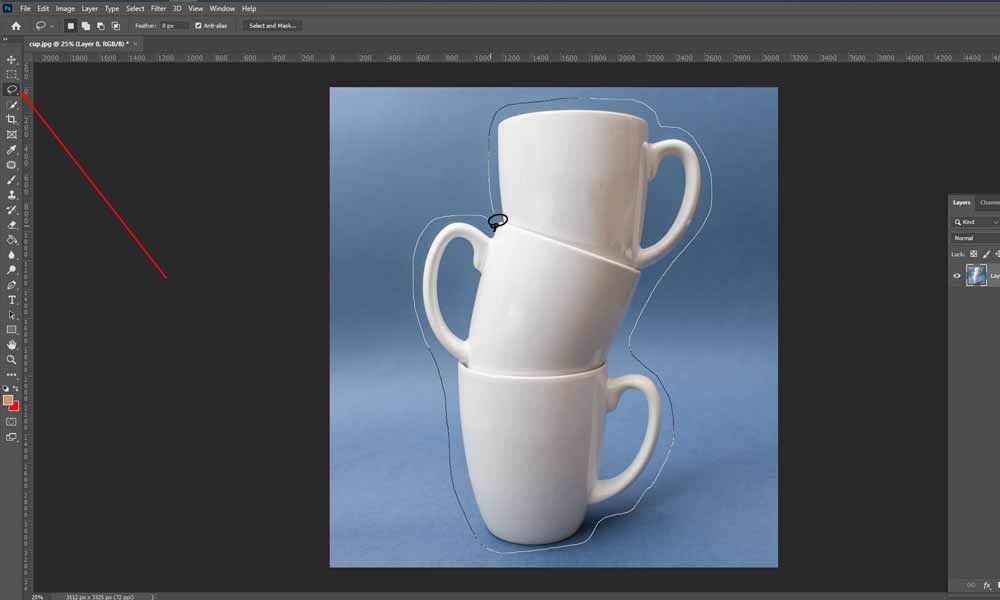
Let us first get a brief idea about Marquee Tool and how it works to create selections. The Marquee tool lets you select an area by drawing a shape. When you click and hold the Marquee Tool on the toolbar on the left side of your workspace, it will show all the options available to draw a shape for making a selection. These are Rectangular, Elliptical, Single Row, or Single Column Marquee Tool.
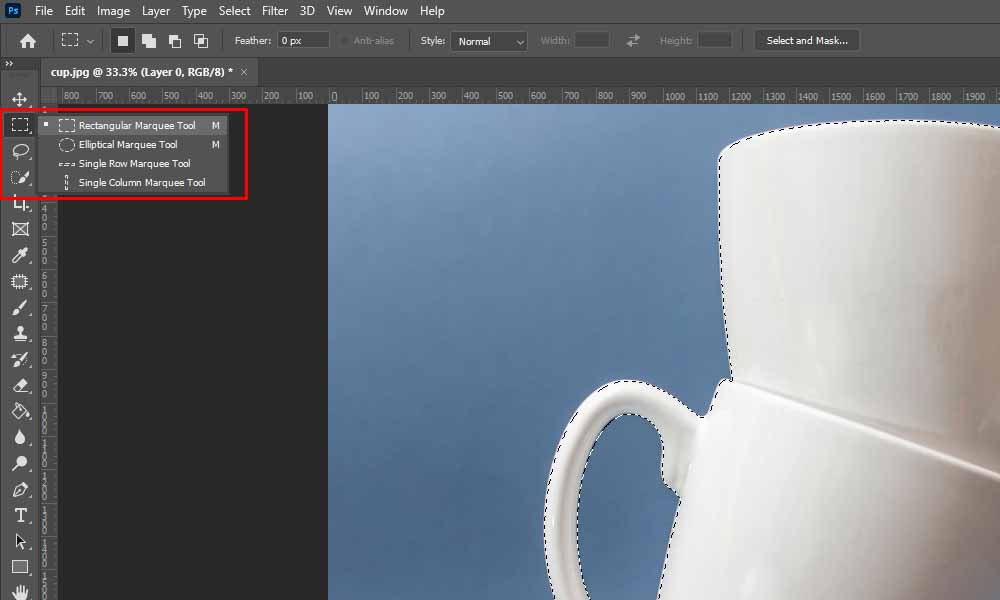
When you select the Marquee tool you want to use, all you have to do is click the area you want to select and drag the mouse to adjust the shape and size of the selection. You can hold down the “Shift” key on the keyboard while dragging the mouse if you want to create either a square or a circle. Furthermore, if you want to start the shape from the center, hold down the “Alt” key for Windows or the “Option” key on Mac OS.
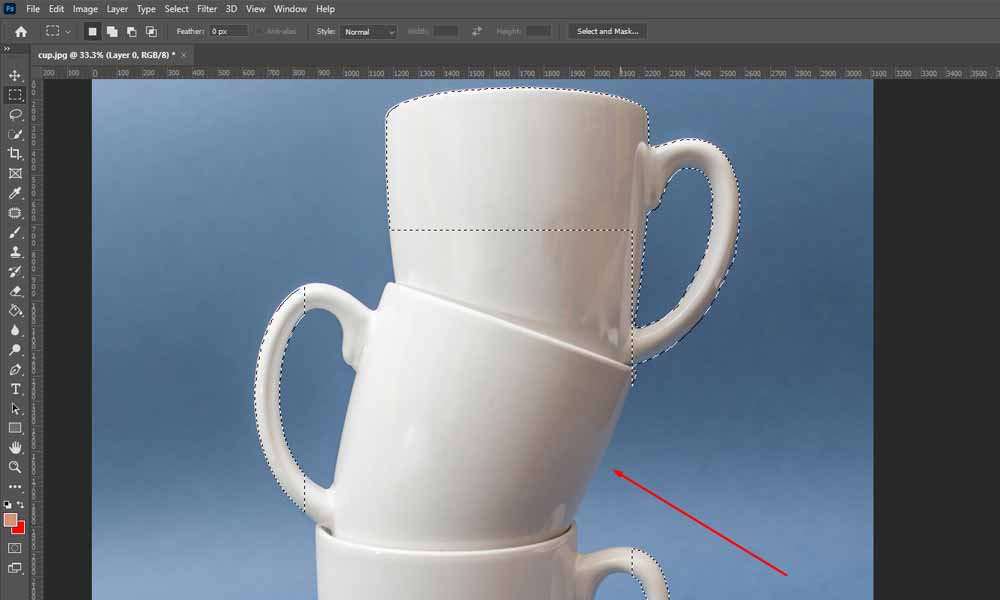
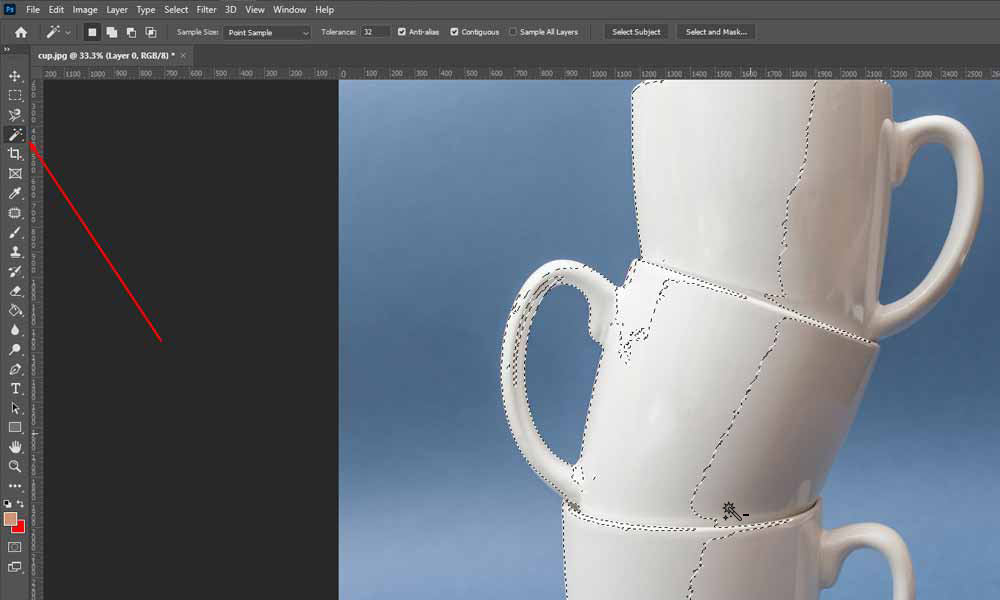
Now, let us talk about how to deselect using this tool. When there is an active selection, holding down the “Alt” key for Windows or the “Option” key on Mac OS will show a minus sign on the cursor, indicating that you can deselect parts of the active selection. Now click and drag the mouse over whichever part of the selection you wish to deselect.
Using the Lasso Tool
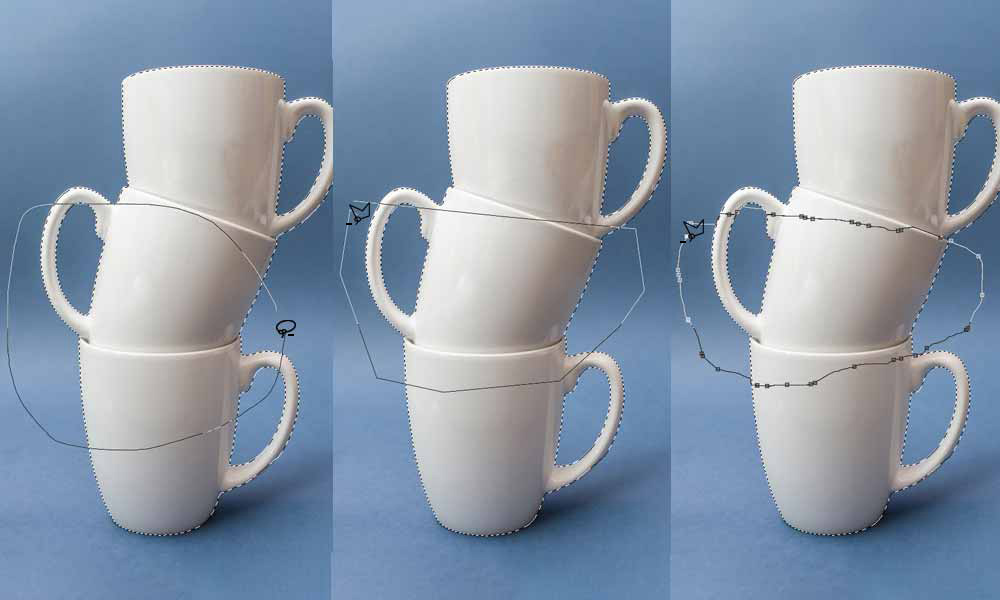
Now we move on to the Lasso Tool and how it works to create a selection. Lasso Tool, Polygonal Lasso Tool, and Magnetic Lasso Tool are the options available for making a selection here.
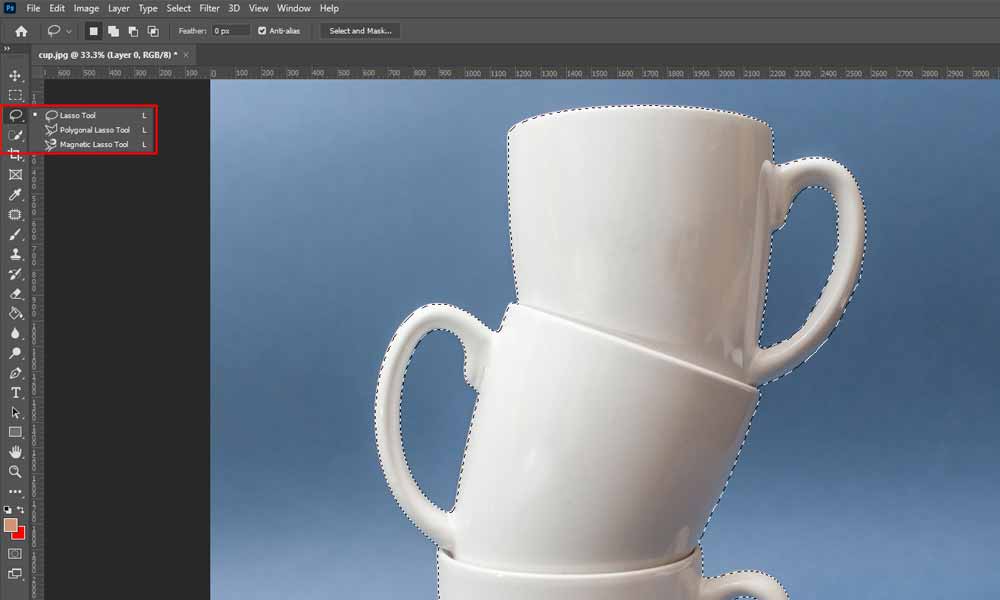
The Lasso Tool allows you to make a free-form shape around the object you want to select. However, this tool will not give you a very precise selection. You can use this tool when your work does not require an accurate cut-out or making finer edits to your object.
The Polygonal Lasso Tool allows you to use straight edges to make a selection around an object. That is when you want to use this tool, make clicks (anchor points) around the object and it will create straight lines between the anchor points.
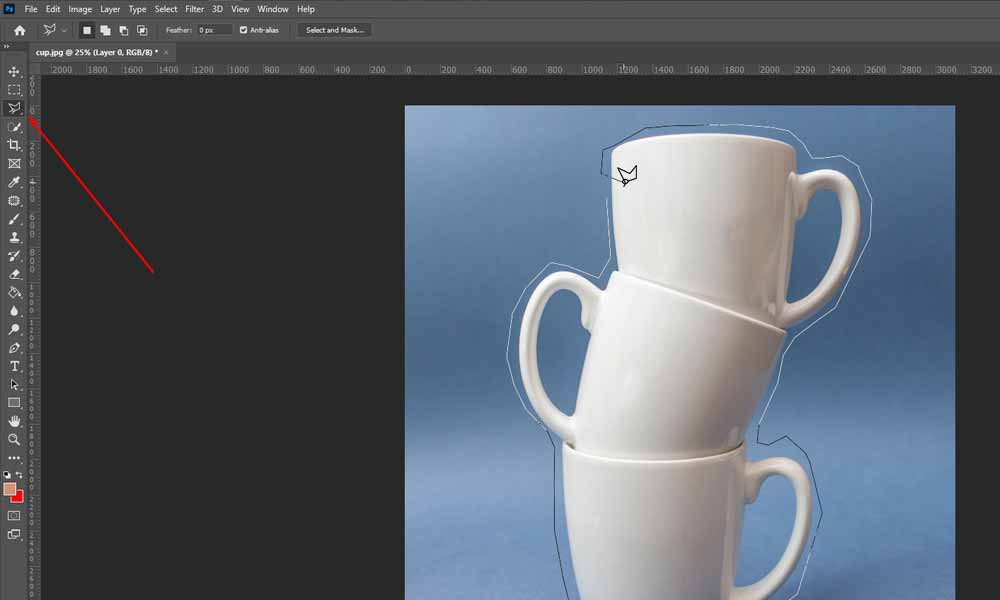
Magnetic Lasso Tool allows making a selection around an object by measuring the difference in color values and brightness between the object and the background, allowing it to snap to the edges of the object. It is particularly useful when the object is placed in a high-contrast background.

So, how do we use this tool to deselect in Photoshop? It is similar to what we already learned for the Marquee Tool. When there is an active selection, hold down the “Alt” key for Windows or the “Option” key on Mac OS and the cursor will show a minus sign. Then all you have to do is draw freely around the object you want to deselect. All the options for the Lasso tool work similarly during the deselection.
Using the Magic Wand Tool
Magic Wand Tool selects pixels automatically by looking for similarities in the color and tone in an image to make the selection. It does this by using machine learning.
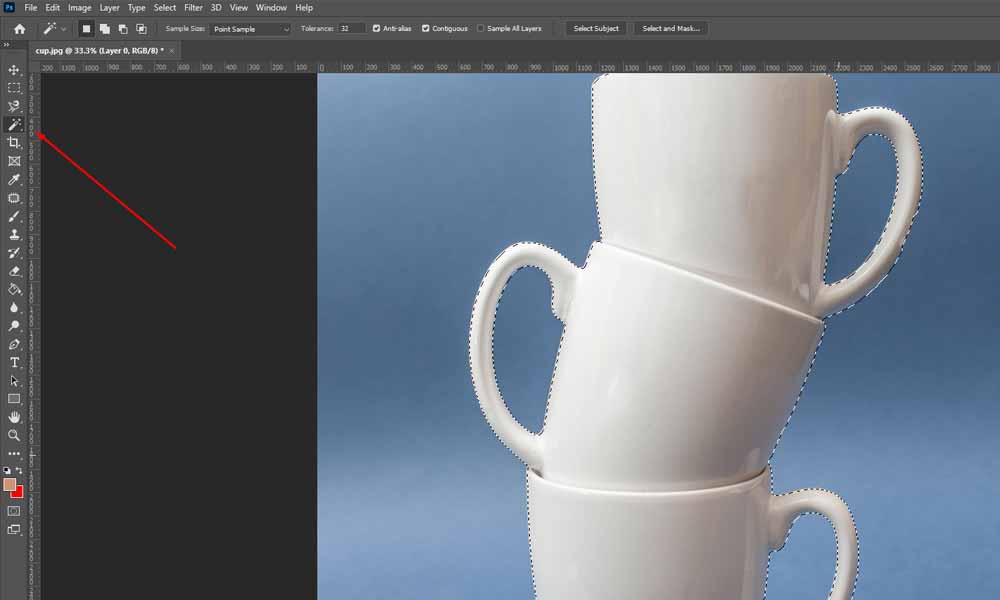
When using the Magic Wand for deselecting a part of an active selection, hold down the “Alt” key for Windows or the “Option” key on Mac OS and the cursor will show a minus sign. Then move the cursor to the areas you want to deselect and click the left mouse button and it will deselect that area based on the color and tone in that area.
Using the Quick Selection Tool
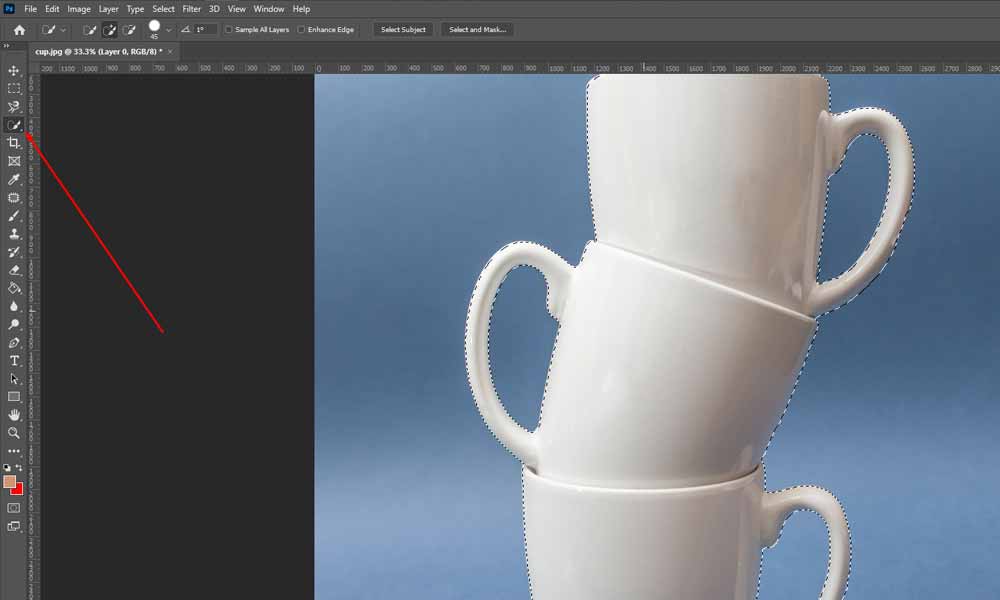
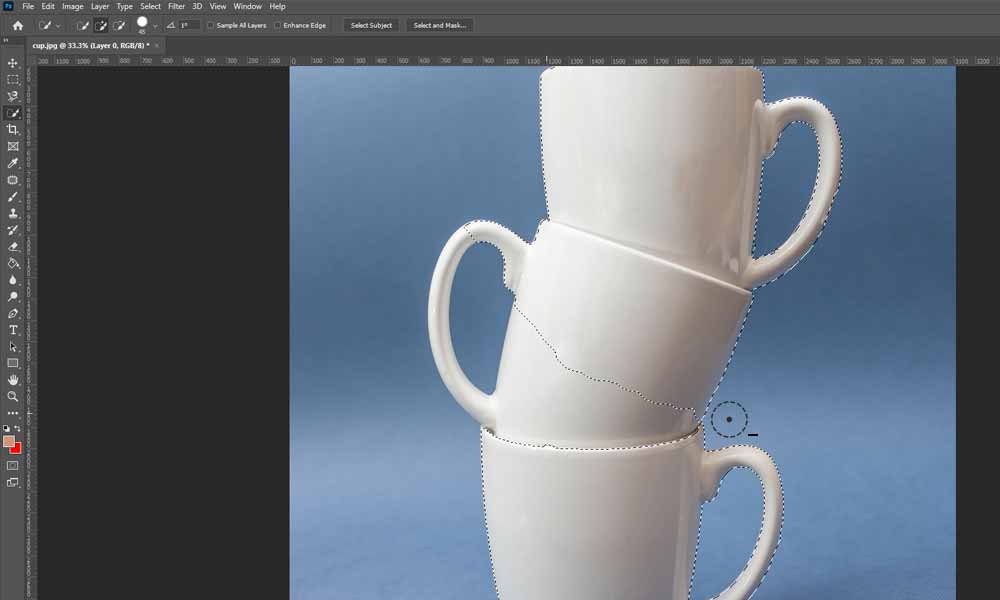
The Quick Selection tool lets you make a selection by clicking and dragging the mouse over the area you want to select and it automatically detects similar tones and stops when it finds the edges of the object. The Quick Selection tool allows you to make a more refined selection with smooth edges and it is able to work with complicated backgrounds. This tool also allows you to select multiple areas around the image, which makes it very versatile.
As with all the selection tools in this section, deselection with the Quick Selection tool works similarly. When there is an active selection, hold down the “Alt” key for Windows or the “Option” key on Mac OS and the cursor will show a minus sign. While still holding this key, drag over the area you want to deselect and it will determine tonal differences in the image and deselect that section.
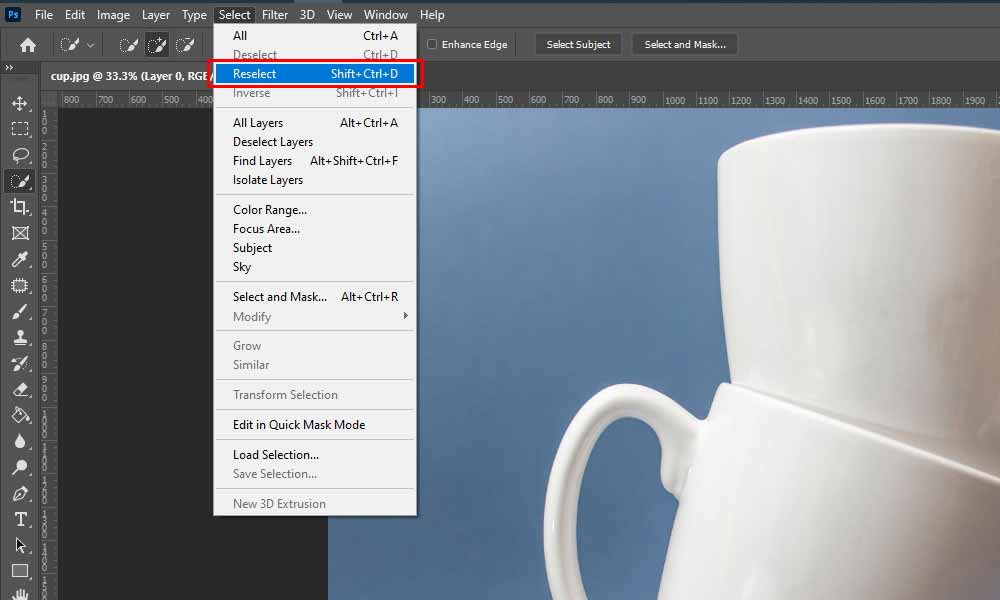
Reselect in Photoshop
Coming this far into the blog, we have already explored the methods of Selection and Deselection. Now, what if you deselected an object accidentally? What might your next step be? Don’t worry; Photoshop has a solution for everything!
From the Menu Bar at the Top
As mentioned above, for the deselection process, we will also find the “Reselect” option in the drop-down menu when the “Select Menu” is clicked from the Menu Bar at the top. When you click “Reselect”, you will see the dashed line appear again around your object.
Using the Keyboard Shortcuts
Alongside keyboard shortcuts for deselection in Photoshop, there are shortcuts for reselection too. If you want to reselect using the keyboard, hold down the “Ctrl” button followed by the “Shift” button and press “D” on your keyboard (Ctrl+Shift+D) for Windows or hold down the “Cmd” button followed by the “Shift” button and press “D” on your keyboard (Cmd+Shift+D) for Mac OS. The dashed line around your object will reappear when you press these keys.
Consecutively, you can even use the Undo feature to reselect as well. That is, (Ctrl+Z) for Windows or (Cmd+Z) for Mac OS.
Also, you can check out our clipping path service
Invert Selection in Photoshop
Often, you would want to remove the background around the selected object. To do this, you must invert the selection so that the background is selected without the subject in the frame. This option is available from the drop-down menu when the “Select” menu is clicked from the top Menu bar.

Consecutively, you can use (Ctrl+Shift+I) for Windows or (Cmd+Shift+I) for Mac OS.
Conclusion
Selection and deselection are at the very core of Photoshop. Having the capability to navigate through these functions can make the editing process much simpler. I hope it was an engaging read so far and that you have gained a great deal of knowledge about how to deselect in Photoshop. Now that you are well-versed in every Photoshop deselection method, you are on your way create great work of art!
Watch our Video Tutorial given below!
FAQS: [ How to Deselect in Photoshop]
1. Are the Photoshop deselect methods the same for every version of Photoshop?
Ans: Yes, the method is the same in every version of Photoshop.
2. Can you click outside the selection area to deselect?
Ans: Yes, you can double-click outside the selection area to deselect. However, this is only for when you are using selection tools like the Marquee Tool or the Lasso tool.


