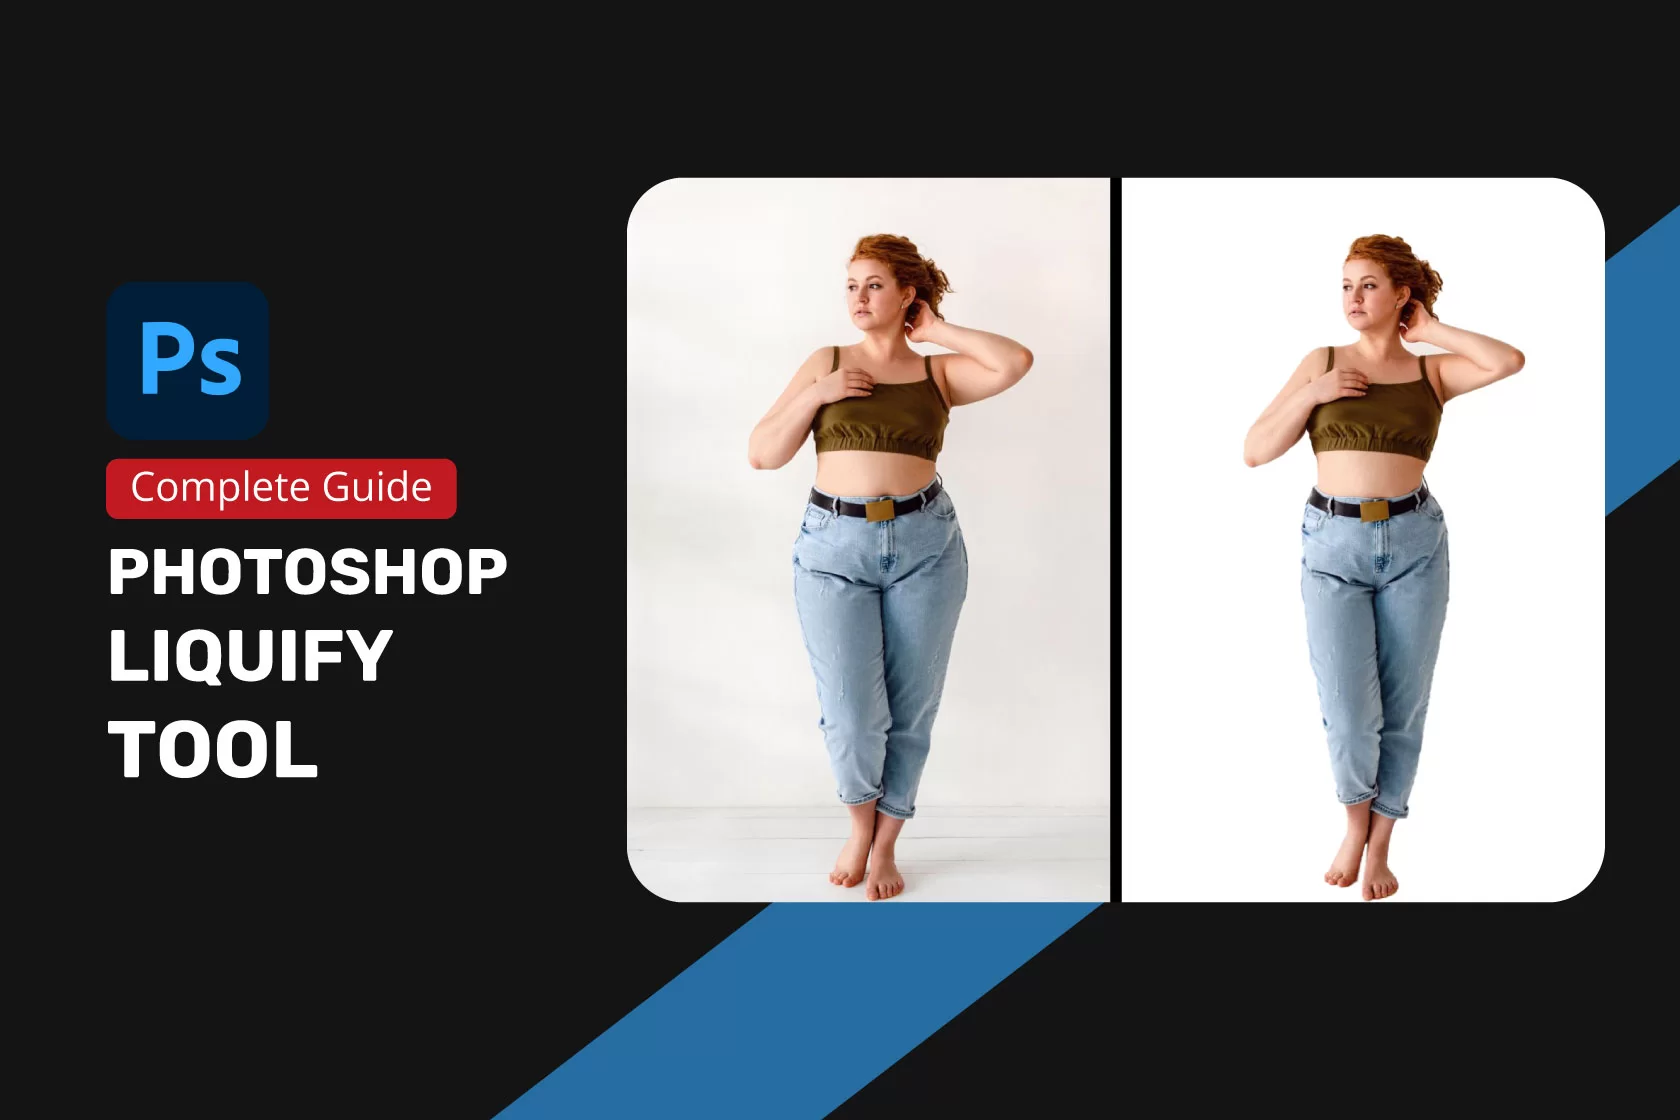
In general, the definition of photoshop liquify in image editing is to lessen the liquid state of a picture. You can tell liquefy is a tool, but in Photoshop, it works as a filter. This is why liquify is known as both a tool and a filter.
In short, it is a filter that makes easy adjustments by dragging and pushing pixels in the picture. In a broad sense, it’s a tool that allows you to rotate, reflect, pull, push, pucker, and bloat any photo spot.
This tool is one of the most typically used tools in Photoshop’s armory, and your making distortions with it might be drastic or subtle. And to clarify, this tool can be practiced on 8-bit or 16-bit per-channel pictures.
With this tool, you can assemble straighten, and reshape eCommerce product photos. Also, you’ll be able to make slimmer or vice-versa on any chubby model photos.
Isn’t that interesting? Do you want to know how you can make a slim body in Photoshop or how it works with the Photoshop slimming tool?
In this article, I will share with you the easiest way to create a liquid body and some examples. With this most valuable and easy photo editing tool, you can reduce or expand the body flesh of a photo where needed.
Learn more about How to Remove Watermark from Photo: A beginner’s friendly Guideline
Tips for Using Photoshop Liquify or Photoshop Slimming Tool:
An essential part of using Photoshop slimming tools is branding or promoting your company’s products, services, or creative wedding photo retouching services. However, the main point of using this tool is to expand or reduce the shape of the model’s body.
But here are some vital tips before using the tools:
- Liquify can’t be practiced as a “Smart Object” but applied to any bitmap layer.
- To access, click “Filter,” then “Liquify.” (Here, you can see a Liquify dialog box occurs)
- Select “Advanced Mode” for more options.
Find out more about Double Exposure in Photoshop Made Easy
Make Your Body Slim Using Photoshop Liquify Filter:
Suppose you need to reshape your model’s body for your company’s marketing promotion. In this case, the first name you must remember is the liquify tool Photoshop.
So, here is how you can make your body slim or extend through liquify photoshop:
- To make a body figure slimmer, first, open your picture, then make it duplicate.
NOTE: You must duplicate the image to feel the difference by watching the before-after image.
- Hide the first layer and press “Ctrl or Command + 0” to adjust the picture on your screen.
- Now, go to filter from the top bar of Photoshop, then hit Liquify.
4. Here, a new window appears in front of you. Watch the following picture:
- To push the pixels back and forth, practice the Forward Warp tool. Also, change the tool size or circle using the right-side slide. Watch the following picture:
- Now, pull the warp tool near the picture you desire to lessen or expand. You’ll get here the Pucker and Bloat tools that are also valid and beneficial to body reshaping and slimming. But it would be best if you drew high patience when composing with the liquify tool.
Also, you can check out our ghost mannequin service
It might take some time for an absolute newbie or beginner to get comfy. But the process is entirely clear and detailed once you grasp it. So, above are the best and easiest processes for how you’ll make you liquify your body.
But do you know the specific fields to apply the Photoshop Liquify tool? If not, then no worries. I’ll describe it to you.
Specific Fields to Apply Photoshop Liquify Tool:
Improving Model Eye:
To enhance models’ eyes attractively, the liquify tool Photoshop plays an important role. You can move pixels back and forth to enlarge the model eye. Also, you’ll be able to make the model’s eyes straightened and curved by applying this tool.
Receive professional clipping path service for about $0.50 per photo.
photo retouching of a model’s eyes, you just need to freeze the eye site you desire to edit. With the help of the Photoshop pen tool, first of all, build a path, then make a selection. You’ll also be able to use some other filters, like a polygonal lasso, photoshop lasso, and rectangular marquee tool, to select your editing site. By hitting the Advanced Mode check box of the pop-up window on the right side, you’ll be allowed to use the Freeze Mask tool.
Extending or Slimming Body:
Changing a model’s body balance is a very debatable matter. The photo editing function that I have shown above is the process of body slimming. You can also stretch the model’s body if you catch the procedure. Whether the model is thin or fat, you can beautify your model photos with this process.
And the pictures of your potential model might suffer from flesh or might look odd or not commercially suitable. But if you employ them for commercial pursuits, your business may encounter hardships.
So, the good news is that you can solve these obstacles using the Photoshop Liquify tool.
Image manipulation:
The intent of creative image manipulation is to build unique things such as banners, logos, and other marketing aspects. These types of creative pictures work with many styles of shapes, strokes, curves, joints, etc.
Nevertheless, there are multiple image editing services where the liquify tool is used often, but it’s mainly used for Photoshop touchup services.
And if you have a vast volume of pictures but can’t finish your task alone, you can contact us instantly. Our highly experienced customer service team will reach you soon.
Photoshop Liquify Tool’s Keyboard Shortcuts:
When working with Liquify Photoshop, you can use several styles of keyboard shortcuts. Below are the most standard and familiar keyboard shortcuts that you can use:
- Command+ is one of the first keyboard shortcuts that enable you to zoom in on the image.
- Command- is the second keyboard shortcut that lets you zoom out on the image.
- Hold down on the Spacebar key is the following keyboard shortcut that enables you to click and drag the photo.
- Command + 0 is another keyboard shortcut to fit and maintain its aspect ratio.
- The other similar keyboard shortcut is Command + 1, which will help you zoom back photos to 100%.
FAQ of Photoshop Liquify:
1. What is the use of liquify?
The Liquify Effect: Simply put, to adjust an object’s size, drive a mouth into a more suitable position, or tuck in a chubby roll. To use the tool, you can select several processes like Bloat, Push Left, Twirl, or Pucker from the options panel. And to clarify, every function has its own path to provide a precise result.
2. Can a liquified layer be used for two (02) different layers?
Suppose you have two (02) layers, the first layer, a pic that you ought to match, and the second, which you desire to liquify. But before starting, please ensure both are the same size and similar general position. And when your Liquify window opens, scroll the options to the right and select Show Background.
3. How do you save a liquify in Photoshop?
Click “Save Mesh” at the top right of the dialog and decide where you like to save the mesh, including the edits you’ve made. In this way, you can open the high-resolution version of your image in Liquify at any time and click “Load Mesh” to use your saved mesh while operating on the lower-resolution image.
4. How do you copy a liquify?
You always have the power to add more liquified matters by right-clicking on the liquified object and hitting “Duplicate” to make a replica of the existing entity.
5. How do I reduce arm size in Photoshop?
Press the “Forward Warp Tool” on the filter toolbar, then hit inside the edge of a body portion, like the upper arm, and drive the cursor slightly inward from the edge to assemble the arms thinner.
Final Words:
In a word, Photoshop’s most beloved segment and a clear filter to learn and master is the Photoshop Liquify tool. It has some fantastic abilities, like presenting how much you can accomplish in post-processing.
At last, using this tool, you can save valuable time on your editing workflow. And it indicates that you can engage that time on other, more noteworthy scopes of your business.
And I hope you found this post valuable, practical, and beneficial. And you will use it to assist you in your upcoming projects. Also, hopefully, you’ll have fun employing the Liquify filter on Photoshop body and product pictures.
So, good luck with your Photoshop liquifies or Photoshop slimming tool to edit photos. Please stay with us for more engaging and informative articles. If you have anything on your mind regarding this post, please feel free to contact me through the comments section below.
Read Our Latest Articles-
- 19 Male Poses and Tips for Outstanding Your Next Photoshoot
- 25+ Fun and Creative Photoshoot Ideas to Inspire Your Next Shoot
- Maternity Photoshoot | Pregnancy Photoshoot Poses Ideas to Capture Love
- The Ultimate Guide to Captivating Couple Poses: Unleash the Magic of Love
- Ugly Wedding Rings: Embracing Unconventional Beauty


