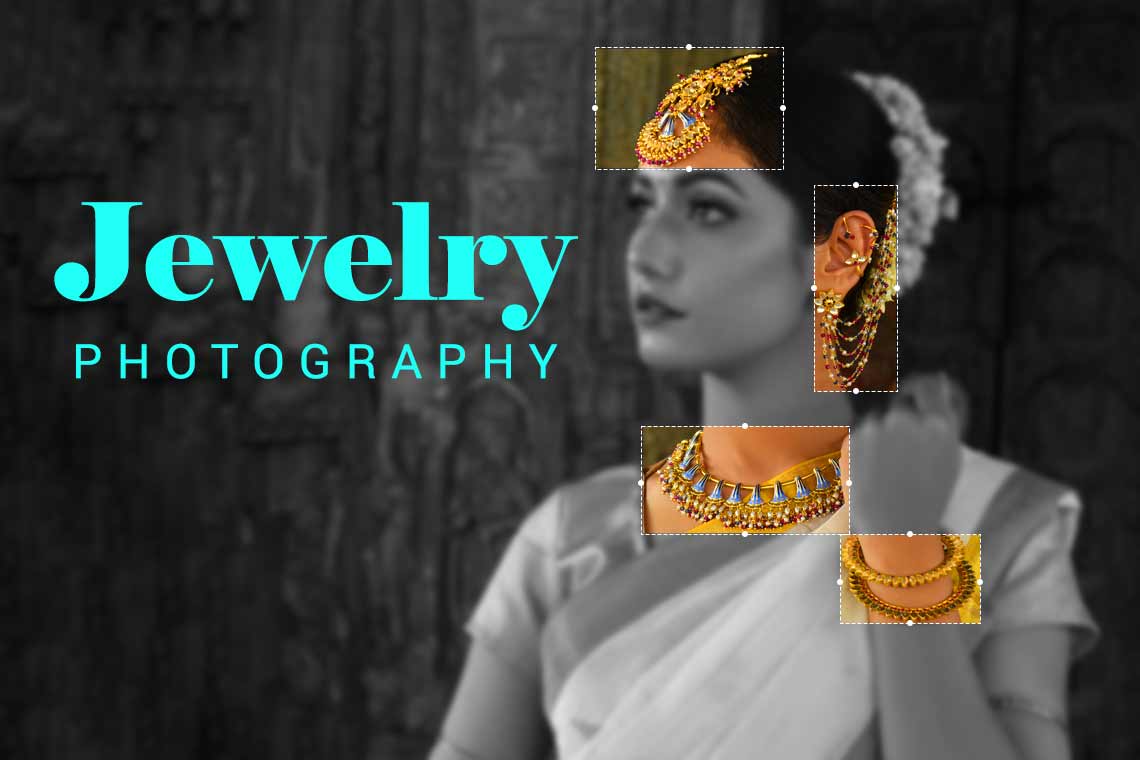
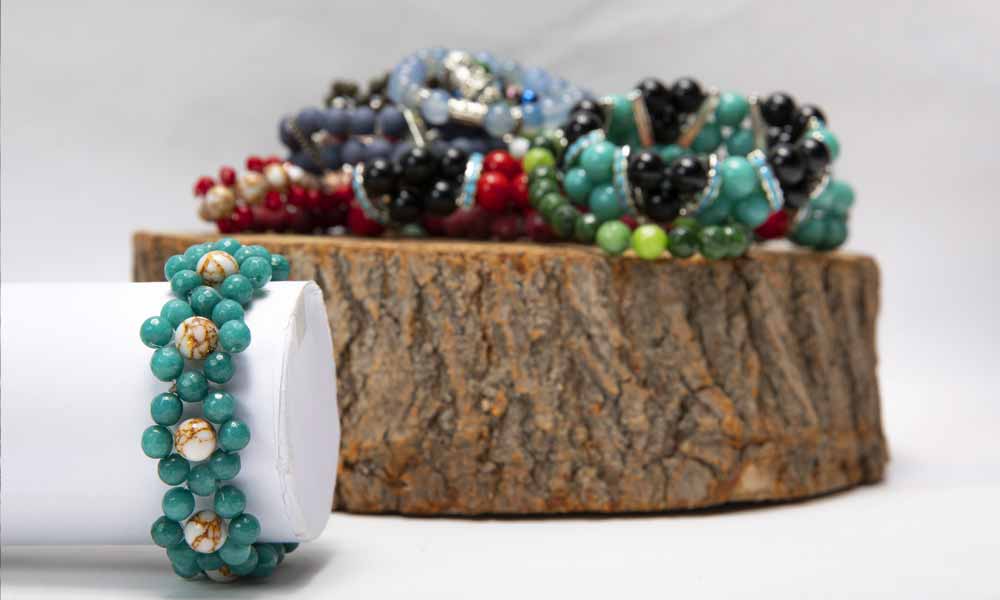
Jewelry photography is the most challenging but the best solution if you’re a physical jewelry businessman or want to run your eCommerce store for jewelry products. The buyers only buy products that are displayed crystal clear and provide detailed pieces of information. If your jewelry product photography is unclear, blurred, or even has scratches or blemishes, the buyer’s willingness to purchase the product decreases.
So, it might be right if I say that your product pictures can break or boost the advancement of your jewelry business. Therefore, a jewelry photo retouching service is a mandatory thing if you desire to succeed in both your physical and e-commerce jewelry business. And about jewelry photo retouching, you must require a white background, a flexible lighting setup for photography, some adequate gear, and many more.
Though jewelry photo retouching is very tricky and challenging, with accurate jewelry photo retouching tips and tricks, you can easily have gorgeous images except for hiring a professional.
What is Jewelry Photography:
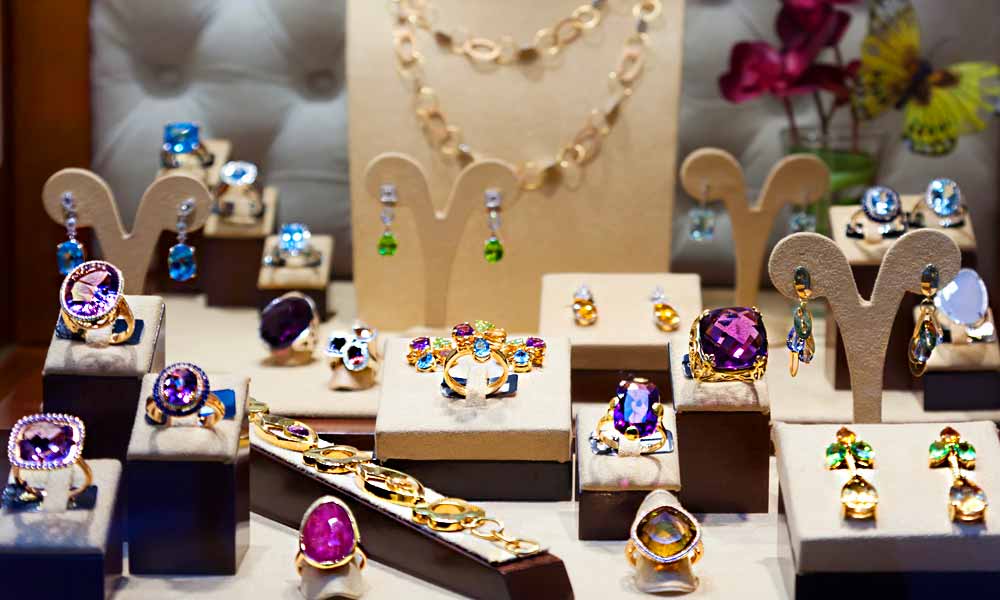
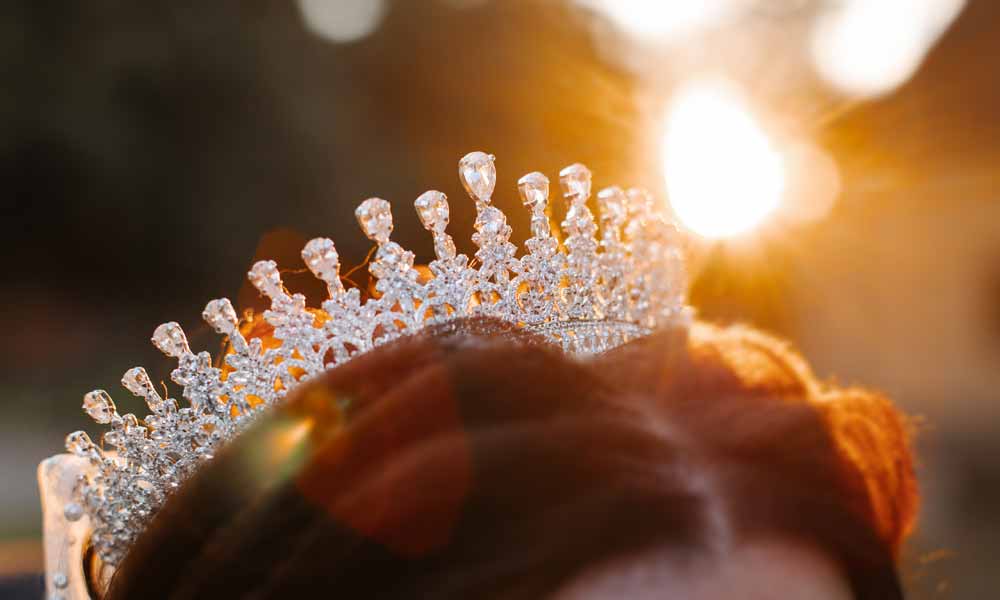
Jewelry photography generally refers to capturing fascinating, eye-pleasing subjects using obtainable light. Or, more simply, images that are visually enticing, attract buyers’ attention, entice them to purchase, and provide complete information on the subject, are called jewelry product photography.
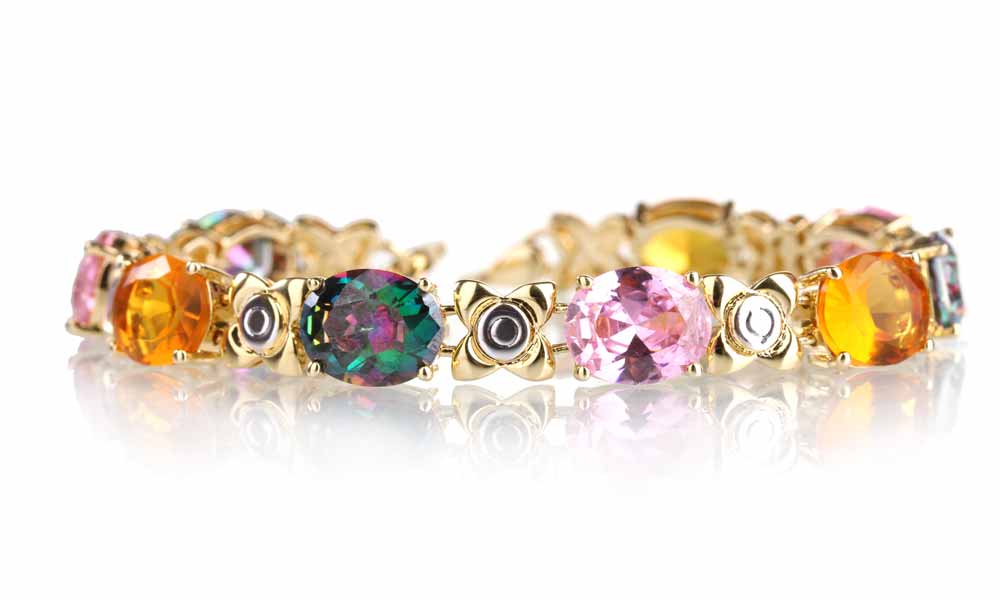
It’s a very challenging process as the gems are immensely reflective, the shreds are usually tiny, and the colored stones are not as vibrant in the images as they are in physical existence.
Mainly, jewelry is a very demanding and expensive ornament worldwide. It’s an item that attracts all, especially women. Anyone can give this ornament to anyone, especially to a dear one, as a birthday gift, or wedding ring, and on many occasions. This is why photographing jewelry plays a significant role in the eCommerce jewelry business.
Types of Product Photography for Jewelry:
Suppose you’re going to start a jewelry business or are still in the jewelry business through an e-commerce store. In every situation, you must remember there are only two (02) diverse types of product photography for jewelry. And both of them require distinct kinds of necessities and tactics.
Receive professional eCommerce image editing service for about $0.50 per photo.
Product and eCommerce:
This type of photography is the photos you mainly view online or, more probably, on a product catalog. To clarify, these types of images are captured on a flawless solid color background. And most importantly, these photos only highlight the jewelry products.
Editorial Photography:
This type of photography is much more creative and is often used in advertising. And you can often see this type of editorial photography in lifestyle situations featuring a model or jewelry.
How to Photograph Jewelry:
Before we jump to the section on how to photograph jewelry, you must opt for some pieces of equipment that are very useful. After taking those gears appropriately, you’ll be able to do your product jewelry photography.
Table Setup For Photography:
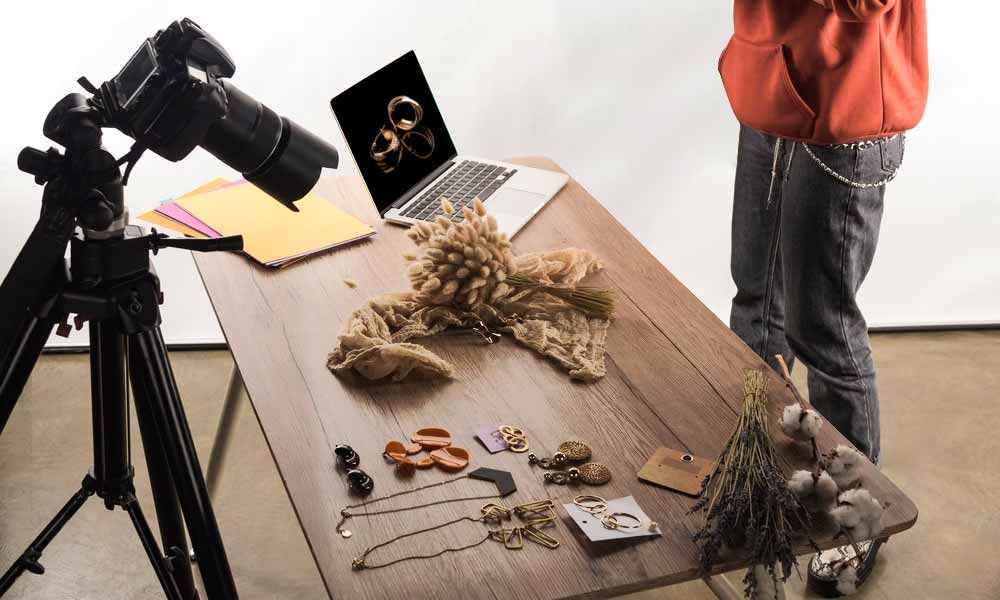
The very first step in how to photograph jewelry is to set up your table. If you’re standing near your window, place your table (90°) ninety degrees to the left or right. Now carefully set your tripod in front of your setup. If using a standard table for photography, you must have adequate room for jewelry.
NOTE: If you’re trying to use your personal smartphone with a short tripod, kindly search for a space on the sweep to put it.
Learn more about Unique 19 Product Photography Props For 2025
Lighting Position:
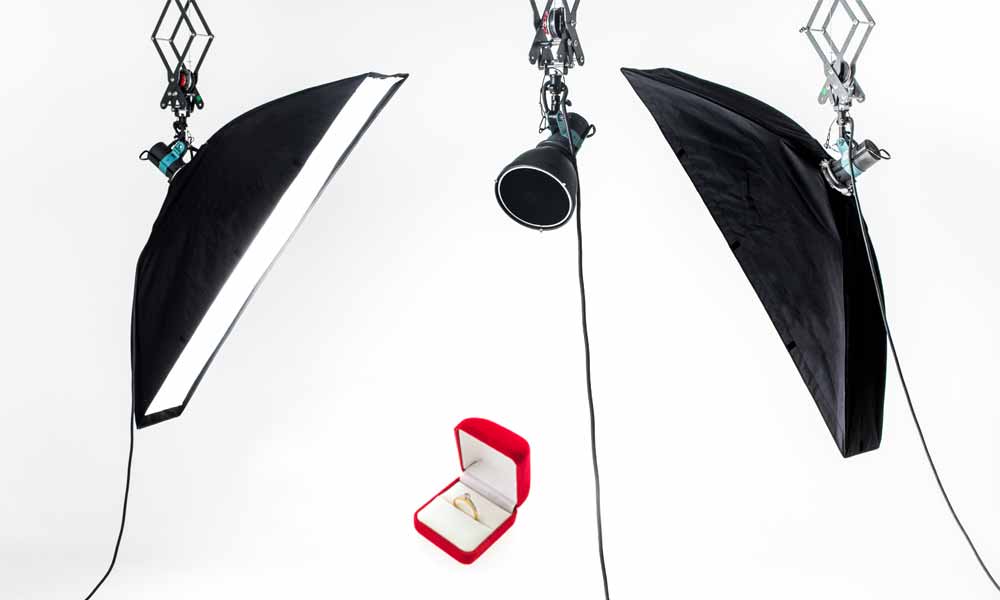
If you’re doing photo shooting in natural or direct sunlight, kindly skip to the next stage because sunlight is already set with your lights. But when using artificial light, it will be a completely different setup.
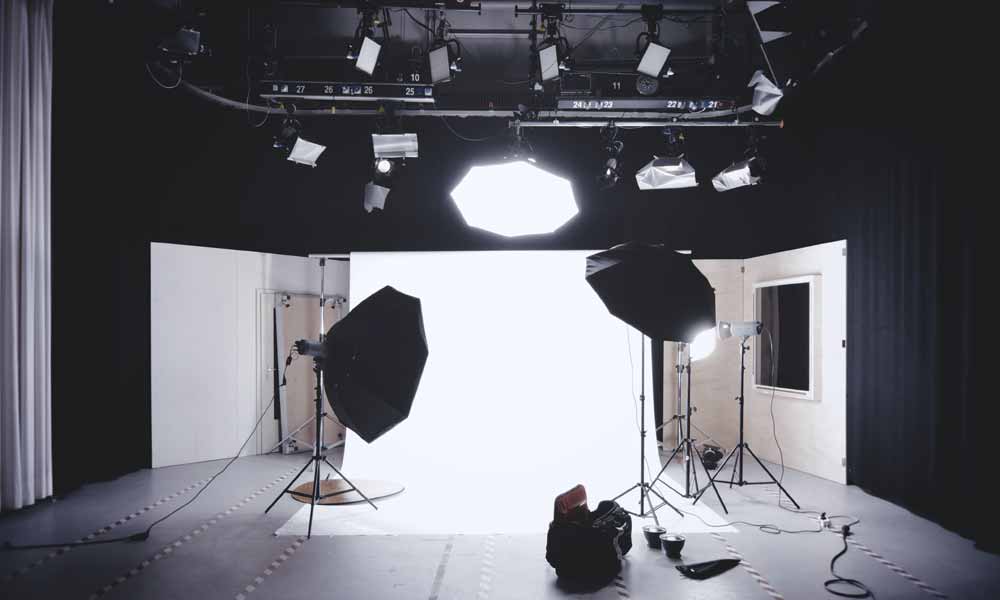
Put a light source, softbox, or an umbrella on your jewelry products at a (45°) forty-five angle. Place your camera in front of the jewelry items directly, and it’ll keep your shining tender and pleasant.
Read more about the Top 07 World-Class Photoshop Image Retouching Provider Company
Jewelry Prepare:
Authentic and glossy images are the topmost priority for photographing jewelry. Therefore, wipe your jewelry carefully every time you touch the jewelry. In this case, a pair of cotton gloves can protect your valuable time and reshoot. However, the challenge mainly comes from the details level of image capture and the correct lighting setup. Once captured ideally and polished, put your ornaments in the middle of the flat portion.
Check out the Top 5 Product Image Editing Methods For Amazon
Jewelry Styling:
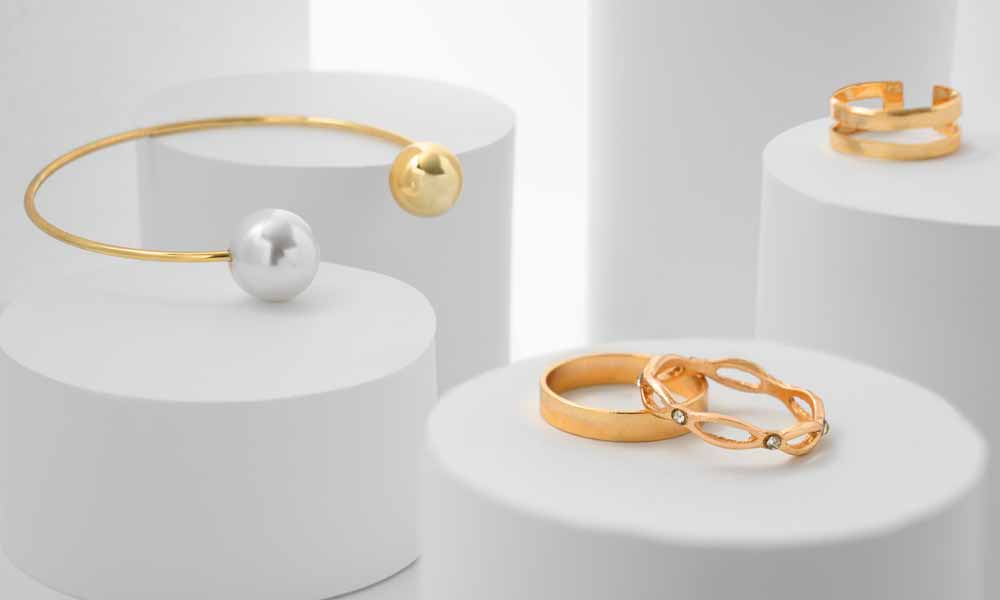
The most significant way to start shooting jewelry photography is, to begin with, a white background. But bear in mind there is nothing mandatory to limit yourself.
Besides, with your jewelry props, you can generate your pictures more alluring and engaging. For example,
- Facile Textured Backgrounds,
- A Background of Marble Slab,
- Variety of Stands or Ring Holders,
- Combined Images with Other Jewelry Pieces
Jewelry styling is how you want to display your ornaments. For instance, you can start simply, add some, and then test different things.
Receive professional Amazon photo editing service for about $0.50 per photo.
Camera Setting:
Photo Source: Pexels
The most important thing to make a sharp photo and buyer confidence is a high aperture and complete focus photography. The buyers are willing to take a look at every detail of the ornaments. Therefore, kindly provide them with f-11 or more extraordinary aperture settings and place your ISO as much low (preferably ISO 100) as possible.
On a quick note, never capture artsy low-aperture photo shoots that only focus on one part of the jewelry product. And always make sure to set your white balance properly for your intended colors.
View more Image Masking: What, How, And Why?
Capturing the Pictures:
Capturing the pictures is the central part of photography for jewelry products. Position the lights (with diffusing umbrellas) on either side of your product, then angle them under each item and settle them to the same identical power. This setup is remarkably effective at evenly filling the frame with light, except for making unpleasant bright spots on jewelry items.
Find out more about How To Make Photos Pop In Lightroom. [A Step-By-Step Tutorial]
Retouch and Finalize:
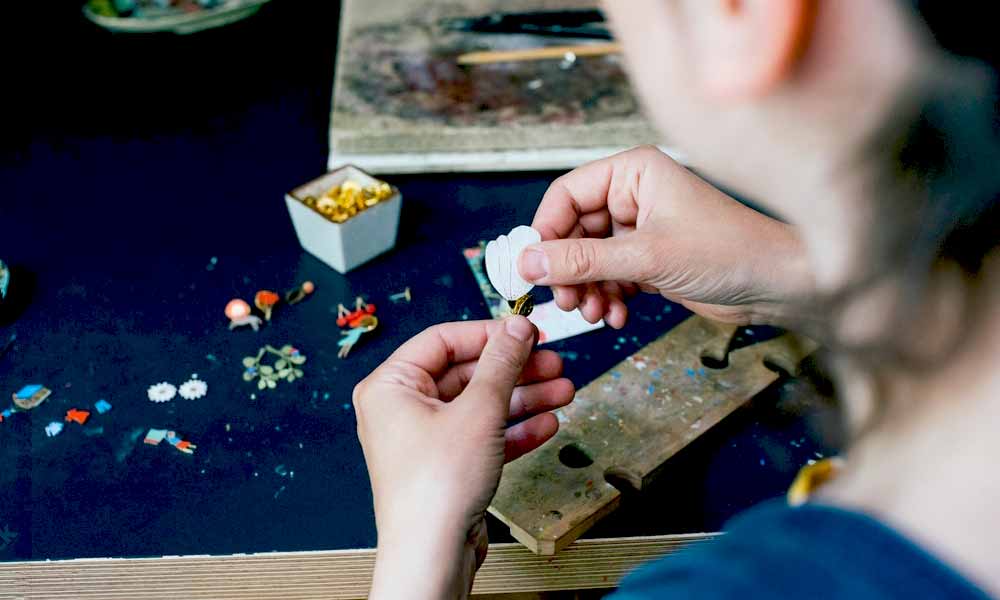
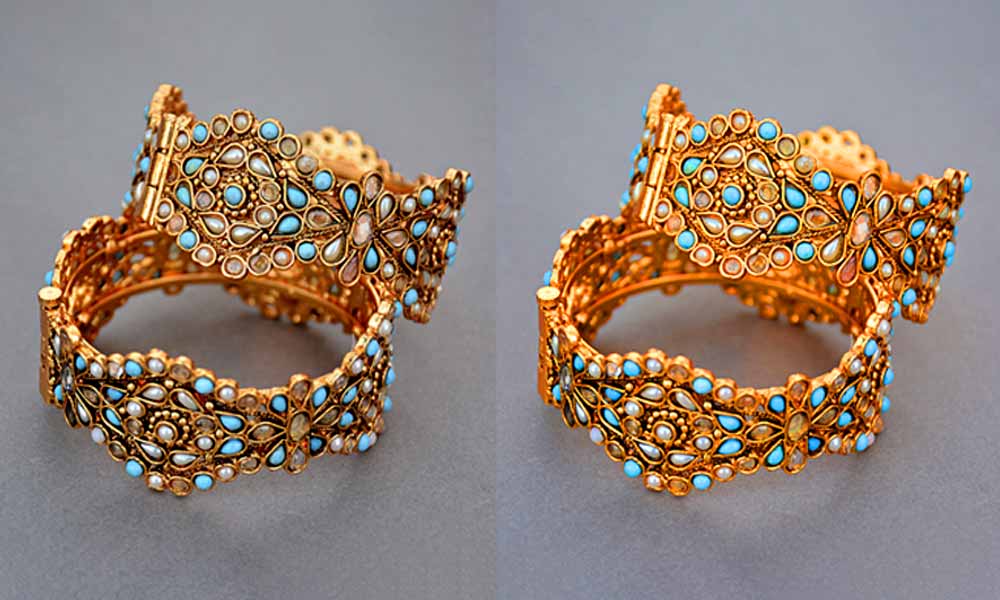
After shooting jewelry ornaments, post-production processing is helpful for your online store to make the photos look more beautiful and professional. Hiring a professional editor to edit pictures from scratch or restore images is the easiest way to save you a massive amount of time and cost.
It’ll be one of the best jewelry photography ideas to pick an online photo editor (free) and learn the basics of photo editing if you dare do it yourself. These basic image editing tactics will enhance your pictures and manage to share them through marketing and sales channels.
See A Complete Guide on Photoshop Liquify Tool You Must Know
Must Need Equipment For Jewelry Product Photography:
Best jewelry pieces of equipment play a significant role in product photography, and it depends on your budget. The following are some best jewelry equipment for photography you must need:
A Camera:
Source: Sony
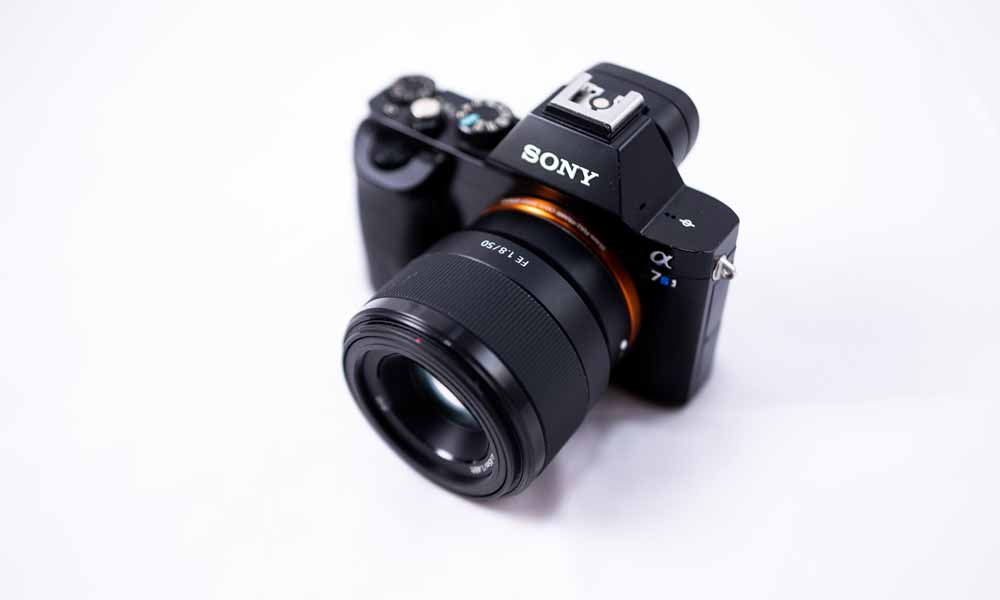
A camera is a must-needed, most expensive yet very crucial thing for jewelry product photos. And the truth is, you don’t need to buy a costly camera for jewelry product photo shooting. Many jewelry shop owners or new eCommerce store owners use their personal “Android” or “iPhone” to perform product photo shoots.
Find out more Adobe Photoshop CS6 Free Download & Installation [100% Working]
Using Tripod:
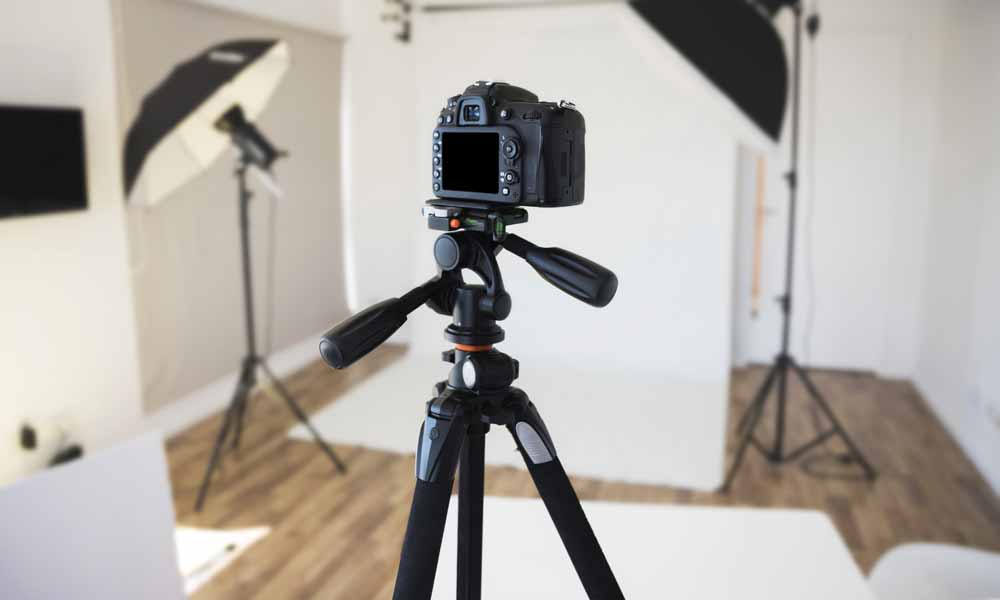
A tripod is a handy, powerful, and effective equipment for any kind of product photography, especially on jewelry. So, using a tripod is always an intelligent decision, and to make you clarify, it’s affordable, captivating, and enhances both quality and consistency. On a quick note, to use the best aperture and ISO settings, your camera should be stabilized by a tripod.
Source of Lighting:
Light is a widespread but necessary equipment for capturing photos. Sidewall windows are a suitable option for having natural light. Of course, you can purchase simulated light sources such as softboxes if you don’t get natural light. But the trick is to maintain your setup simple and try diverse lighting techniques as you get familiar with your camera.
Receive professional photo color correction service for about $0.50 per photo.
Table Setup:
Setting up a table is very easy but another effective tactic for capturing jewelry products. A conventional folding table will work best for this type of photography. And if you can find a table that’s 24 to 27 inches wide, that’s fine too.
Check out the list of the Photographer Tips To Advance Your Skills
White Background:
A white background is an essential technique when it comes to product photography. If you search online, you may find hundreds of thousands of techniques for making a white background for shoots. So, purchasing a white paper sweep will be an ideal solution if you are thinking of capturing plenty of pictures.
Receive professional image background removal service for about $0.50 per photo.
Using Foam Boards:
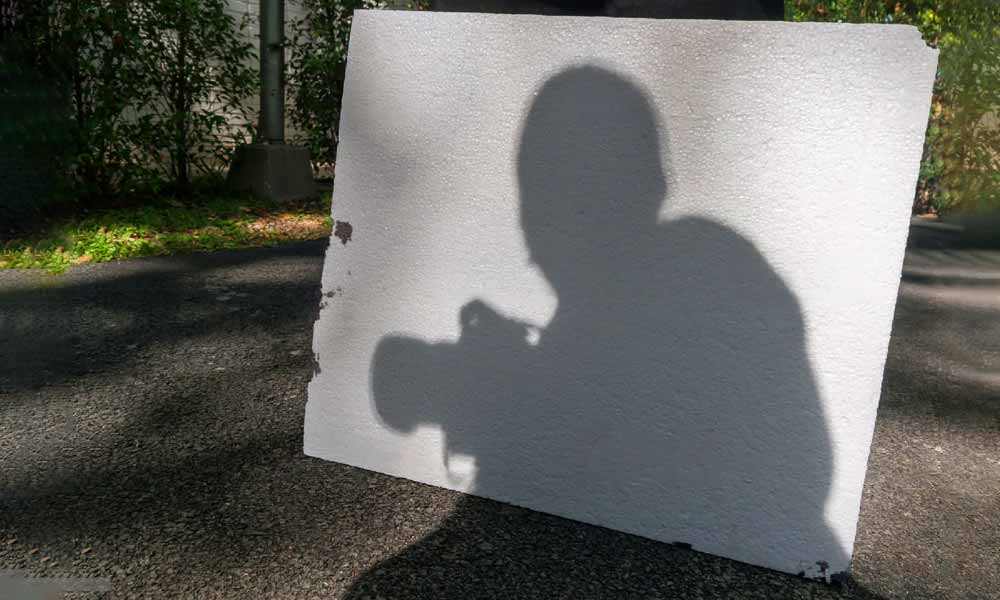
When shooting jewelry product photography, you may always find a shadow side that is too dark to reveal an excellent photo. And you can say it’s one of the top reasons for using a white foam board. Or, more accurately, a foam board is used to bounce light back into the shade to brighten jewelry product photography.
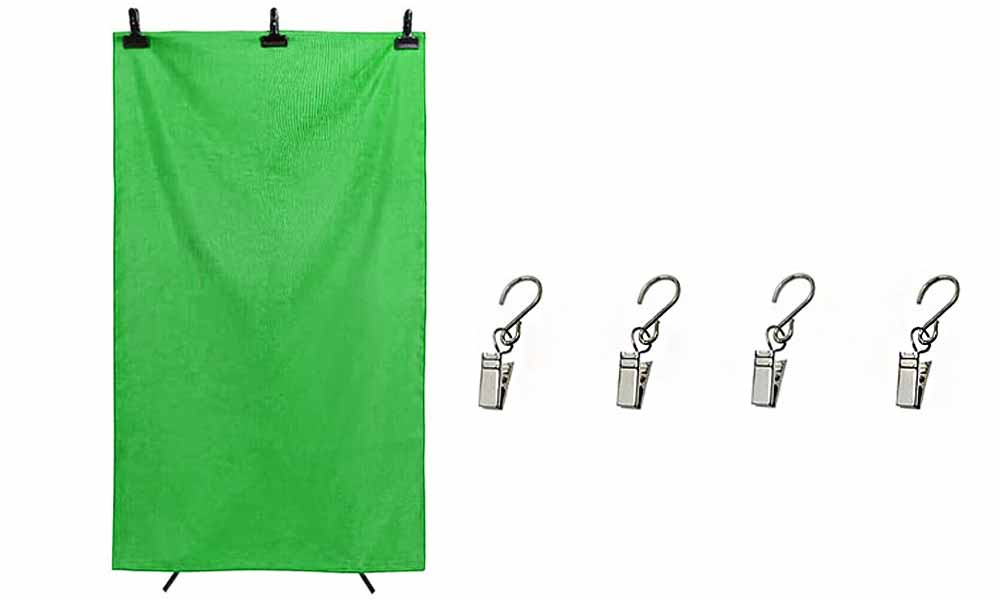
Tape or Clamps:
Tape or clamps play a significant supporting role in product photography. Clamps are mainly used to hold your foam board and sweep it in the right place while photo-shooting the product on the table.
Check out the Top 10 3D Modeling Furniture Software Used By Expertise
Best Jewelry Props for Photography:
When you use any object to improve your jewelry product images are portrayed as a product photography prop. To produce studio-style photos, props are used in many cases, while others also fall into the lifestyle classification. Various options are beneficial or appropriate if you are a frequent seller, especially if you have numerous product types.
Below are some best jewelry props for photography you should apply for your store:
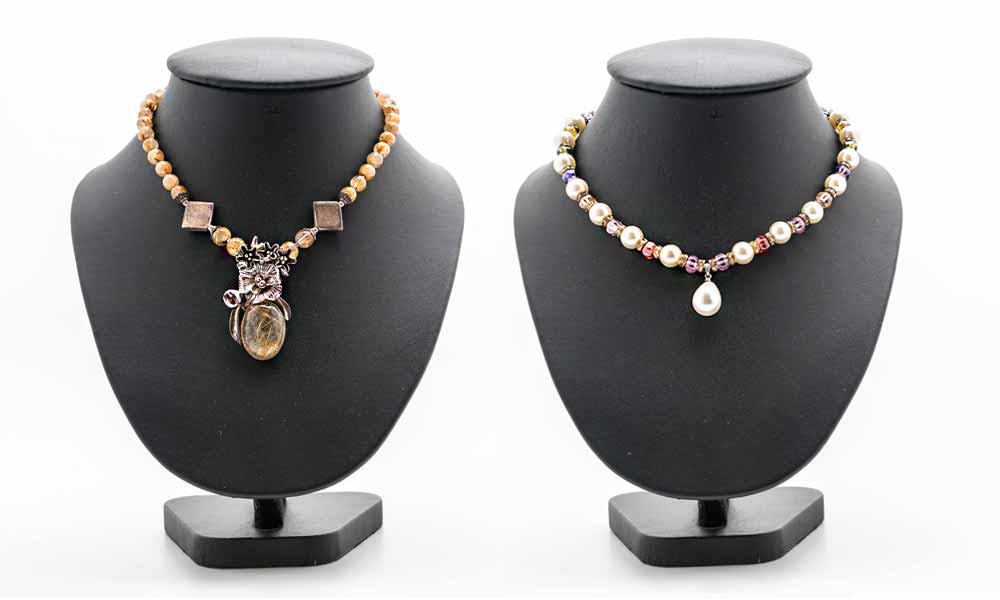
Stand for Necklace:
Basically, it depends on your desire whether you want to include the stand in the shots or simply use it to assist the product. Yet, in every scenario, stands are the most effective option for jewelry items. Stands have many shapes and specific functionality, If you’re trying to take images from classic shots, there is a top rail stand. Or, you may consider purchasing a pendant stand with a gap.
Commonly, diverse types of stands only provide a chain hook, but there are types of stand shapes available that are called human body shape mimic stands. But most importantly, you have to keep in mind that most extended chains may be keen on a DIY presence.
Read more about The How to for Double Exposure in Photoshop Made Easy
Ring Holder:
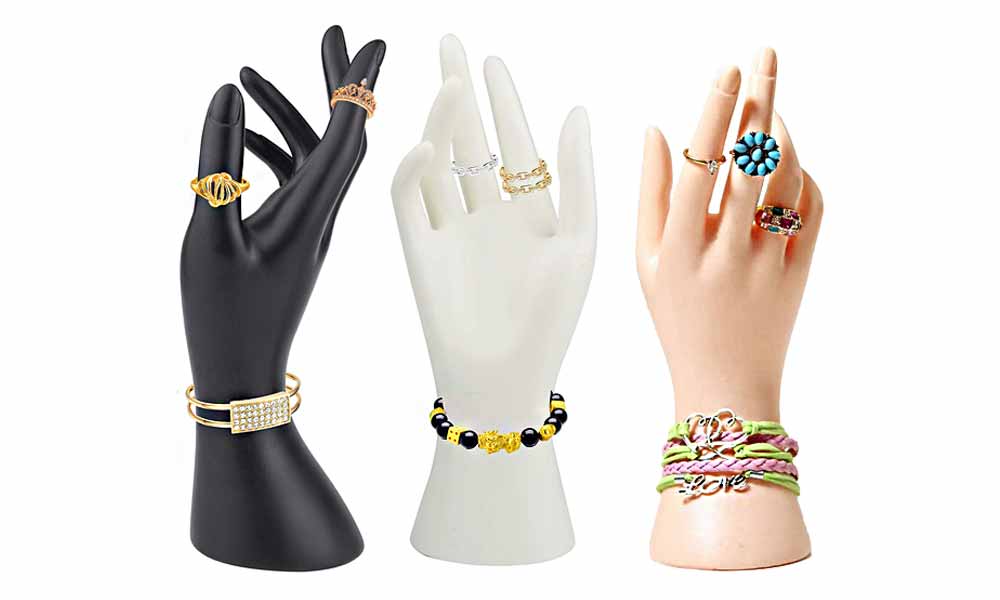
Technically, you must display your ring in a way that will be lit entirely so that potential buyers can glance at the shape and brilliance of the shred. To display the rings accurately, applying a dedicated ring holder is necessary if you’re not interested in conducting a hand model.
So, if you determine to make or buy a ring holder, kindly remember that it is visible in each shot you take. Because something that looks excellent is worth investing in. You can also look at Etsy, a bundle of attractive hand-made choices. And it’s able to help you with shooting both lifestyle photos and studio-style item shots.
Check: How To Take Pictures Of Shoes
Display Stand for Earring:
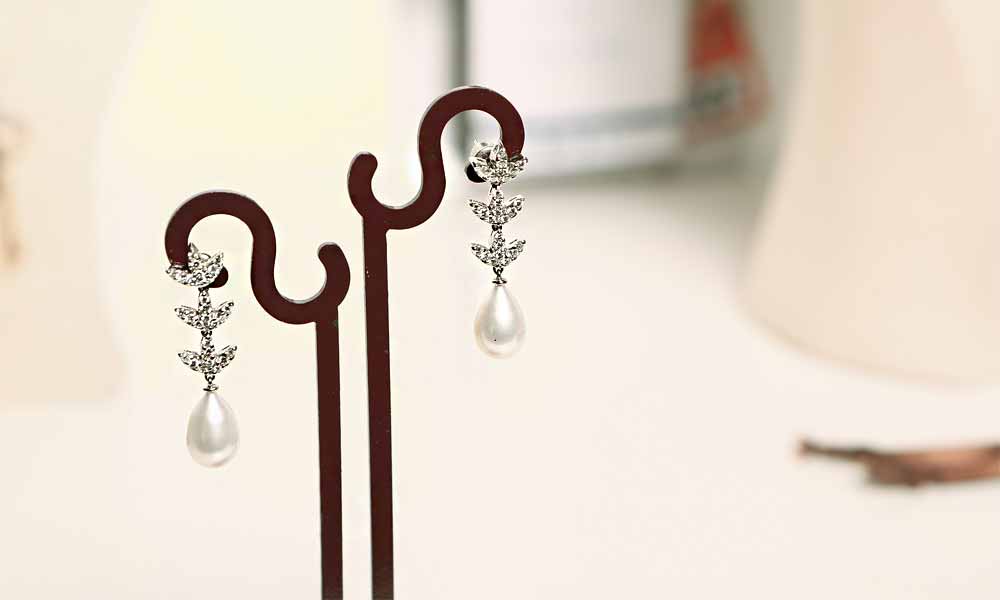
To clarify, earrings are intended to hang, but they don’t wrap with chains. So, if you desire to display them remarkably, you must opt for an outstanding stand to show off. There are several earrings stands you may find that include many layers to maintain multiple pairs. But to do product photography, it’s best to run with something simple. Because the low visual anarchy you have, the more your shred will stand alone.
That’s the reason why many well-reputed photographers desire to make DIY earring holders. For eye-catching earring photography, you only need a portion of painted or acrylic wood with several holes in it. Next, prop the backboard vertically, plus withhold the earring through the holes.
Check out How To Edit Waterfall Photos.
Mannequins:
Indeed, it’s normal behavior for jewelry shreds to be modeled by a human. It’s also logical that you’re on a limited budget and work alone, but it isn’t a situation that is always realistic. For that reason, mannequins come into play.
It’s not like we are talking about the compact-size dummies you look at in the shopping mall. Specialized jewelry mannequins imitate the wearer’s head, shoulders, or hands.
Box for Jewelry:
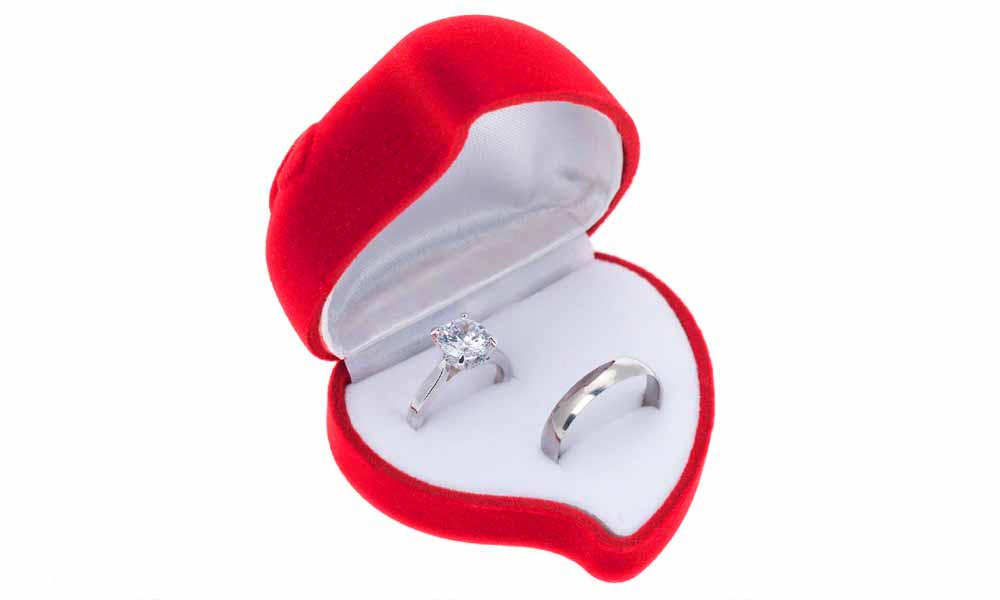
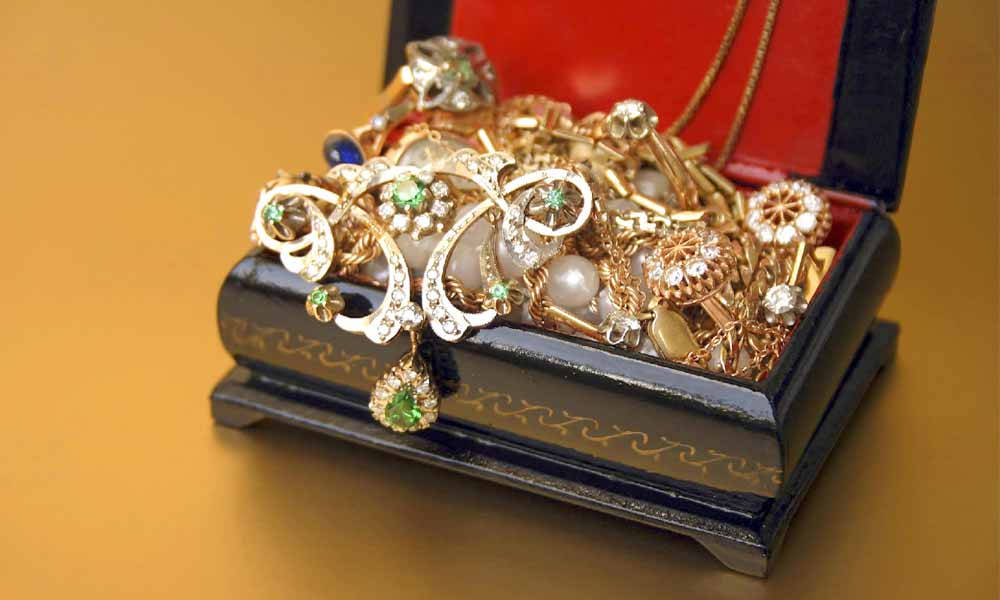
In most cases, jewelry is purchased as a gift item, and potential buyers desire to differentiate how different jewelry pieces look on an individual. That’s why capturing some shots of your items in a jewelry box will be an excellent idea.
To capture this type of shot, use a massive jewelry display box and place your items beneath it with the door panel open. You’ll get some eye-pleasing, authentic, day-to-day lifestyle pictures.
Read: How To Remove a Background in Photoshop Quickly & Easily
Acrylic Blocks / Sheets:
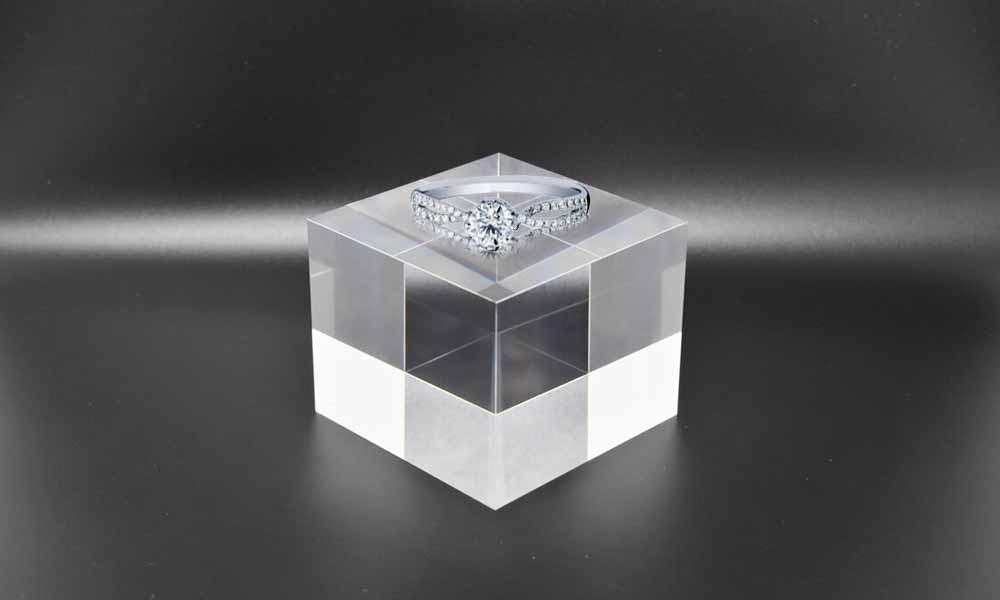
If you go to the high-end jewelry store or even your street road walls, you can see many diverse jewelry posters generated by the topmost biggest name globally. From most of these photos, you can see clearly jewelry shredded on a spotless white background that will be suspended on a reflective surface.
Without it, you’re also allowed to make reflections by applying acrylic blocks in your jewelry product photoshoot. Because it has an ideal smooth surface, Acrylic is undoubtedly effective for product photographers. When you become more professional and familiar with your camera, it’s expressly worth applying with acrylics.
Guide to Incredible Graduation Photoshoot Ideas and Poses
White Foam Boards:
Building an ideal white background can be problematic unless you’re good enough to apply a lightbox or practice a full photo studio. White foam boards will deliver an acceptable option if you love to go with the DIY route. And to stand up by themselves, they are extremely powerful enough, and they are exemplary at reflecting light on your jewelry item.
You can apply them as a coherent, lucid base surface and a background for usual studio-style shots. Above all, you can say a white foam board is like the Swiss Army knife for photographing jewelry.
Natural Props:
Photo by Denny Müller on Unsplash
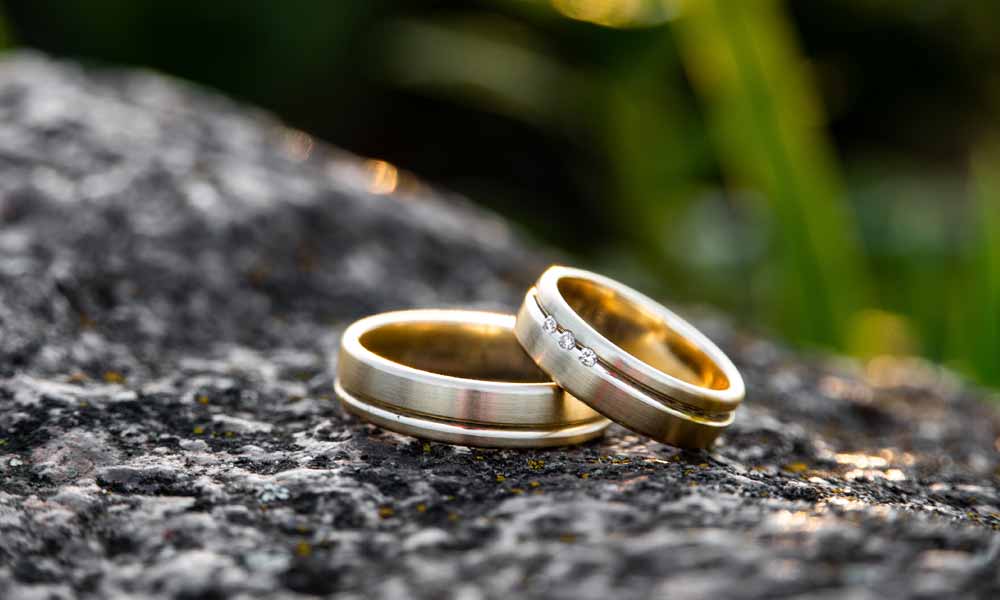
In general, the world is surrounded by many different types of impressive natural props. Performing these eye-pleasing extra natural props on your shooting will add some outstanding organic feel to your photos.
Some other examples include flowers, fruit, fallen leaves, pebbles, and seashells. You can either execute them entirely as decorations or rotate these props into a DIY jewelry show-off. For example, you can put rings on balanced stones or hang a necklace from a tiny section.
Check out Explore the Exciting World of Flat Lay Clothing Photography
Wood Surfaces:
The most tremendous prop built by nature itself is wood. Wood is especially great for forming flat-lay shots. You place a shred of the plane on a horizontal surface and settle up your camera on top. The natural wood grain furnishes your jewelry items with a warm, visually pleasing background.
Check out How Easily You Can Make A Background Transparent in Photoshop
FAQs for Product Photography for Jewelry:
Q – 01: Briefly describe the best path to do the photography jewelry.
ANS: The topmost manner or route to photograph jewelry is to make sure the shreds are evenly and consistently lit. So, first of all, you need to provide your lighting system at a (45°) forty-five-degree angle from the jewelry item. Next, place your camera to the suitable aperture and finally capture the picture.
Q – 02: How do you illustrate jewelry photography at home?
ANS: Through the below steps:
- Get ready for the jewelry and lighting.
- Settle up the table and sweep.
- Styling the jewelry.
- Placement of the camera.
- Take the images.
- Retouch and finalize.
Q – 03: What are the best jewelry props for photography?
ANS: The following are the best jewelry props for photography:
- Stand for Necklace
- Ring Holder
- Display Stand for Earring
- Mannequins
- Box for Jewelry
- Acrylic Blocks / Sheets
- White Foam Boards
- Natural Props
- Wood Surfaces
Final Thought [ Jewelry Photography ]
Photographing glossy objects without undesired reflections is a challenging task. Also, playing with light to combine glittering jewelry items is an additional task.
- Carefully choose the lens, lighting, color, and background that best suits the jewelry.
- Select equipment.
- Kindly call a production team or software to retouch them.
- Amusing and simple to become an expert in the skill with exercise.
Now that you have the knowledge about how to photograph jewelry search for a glamorous jewelry item and start photo shooting. Good Luck!
Read Our Latest Articles-
- Maternity Photoshoot | Pregnancy Photoshoot Poses Ideas to Capture Love
- Graphic Design is My Passion | Origin and Best 15 Memes
- Best Trendy Travel Case for Camera in 2025
- Impressive 30 Christmas Photo Ideas For You To Use
